
Zendesk
Overview
When your customers start a new conversation, the Quiq system will create a new Zendesk ticket for the conversation, depending upon your configuration. You may request a Quiq employee to complete this setup, or you can proceed with these steps on your own.
PlaceholdersThroughout this document, placeholder values appear in
{curly braces}. Replace each with the correct value for your environment before proceeding:
{YOUR-QUIQ-TENANT}— Your Quiq tenant name, typically the first portion of your Quiq site URL (e.g.acmeinacme.goquiq.com){YOUR-QUIQ-CLUSTER}— The Quiq cluster your tenant is hosted on. Your Quiq Implementation Specialist can provide this if you're unsure.{YOUR-ZENDESK-SUBDOMAIN}— Your Zendesk subdomain (e.g.acmeinacme.zendesk.com)
Integration Account
An administrator account in the Zendesk system must be created to allow Quiq to sync tickets via Zendesk. The account name should be Quiq Integration, and email should be: zendeskapp+{YOUR-QUIQ-TENANT}@quiq.com.
Zendesk Single Sign On
When Quiq is integrated with Zendesk, user authentication is handled via Zendesk. Zendesk users automatically have access to Quiq, and it is not necessary to create users in Quiq. However, Quiq Manager and Admin permissions must be granted to users once their account has been created from Zendesk. Additionally, users must be added to Roles when multiple queues are used. Reference the Admin Manual for specifics of user management.
Follow these steps to enable Zendesk account management:
1. Go to the Zendesk Admin area
2. Under "Apps and Integrations" click on the "Zendesk API" link
3. Click on the "OAuth Clients" tab
4. Click the "Add OAuth client" button to create a new OAuth client
5. For Client Name input "Quiq"
6. For Description input "Quiq Messaging"
7. For Company input "Quiq"
8. For Logo you may leave it blank or upload the Quiq logo from here
9. Unique Identifier should be automatically set to "Quiq"
10. For Client kind click the drop-down and select "Confidential"
11. For Redirect URLs put the following two lines into the text area:
https://{YOUR-QUIQ-TENANT}.goquiq.com/idp/callback/zendeskhttps://inbound-{YOUR-QUIQ-CLUSTER}.goquiq.com/idp/callback/zendesk
12. Click Save and then click OK
13. Click Copy to copy the OAuth secret
14. Paste the secret into your text editor
15. Save the OAuth App
16. Securely share the secret with Quiq
In September 2025, Zendesk changed how apps connect to a Zendesk instance. Learn more. Below you will find updated instructions.
Share Information with Quiq
Work with Quiq employees to transfer your OAuth app name, OAuth app secret, and API account ID to Quiq. Quiq will use this information to create Quiq as a Channel in your Zendesk site as well as a custom field that is required for the integration.
Connecting Quiq and Zendesk
- Make sure that you are an admin both in Quiq and in Zendesk and have completed the above step. To set up the new connection style with Quiq - navigate to the Quiq Admin area and go to the Zendesk section of the Quiq Admin area. From there click Re-Authorize Connection.
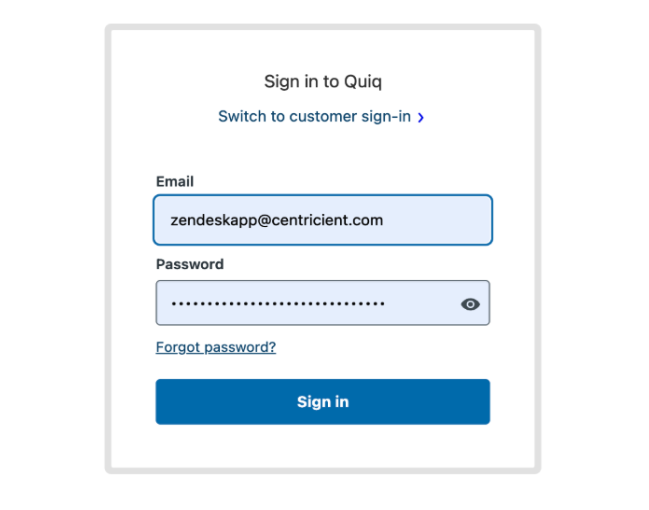
- After clicking the "Re-Authorize Connection" button, a pop-up window will appear and direct you through Zendesk's flow to allow Quiq access to connect to your Zendesk instance. If required, please fill in your Zendesk account ID and password.
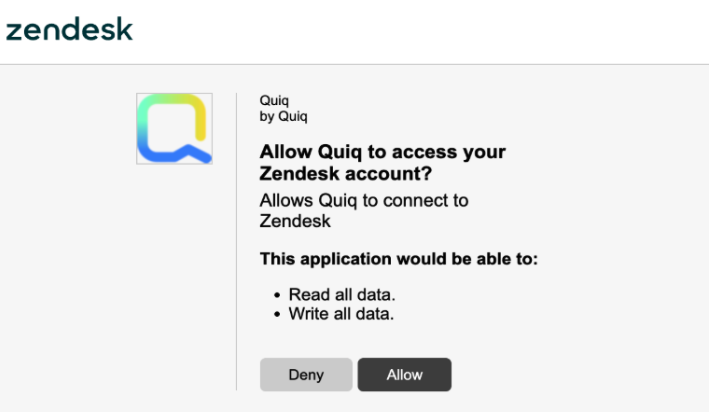
- Next you will be prompted to allow Quiq to access your Zendesk instance. Please click "Allow".
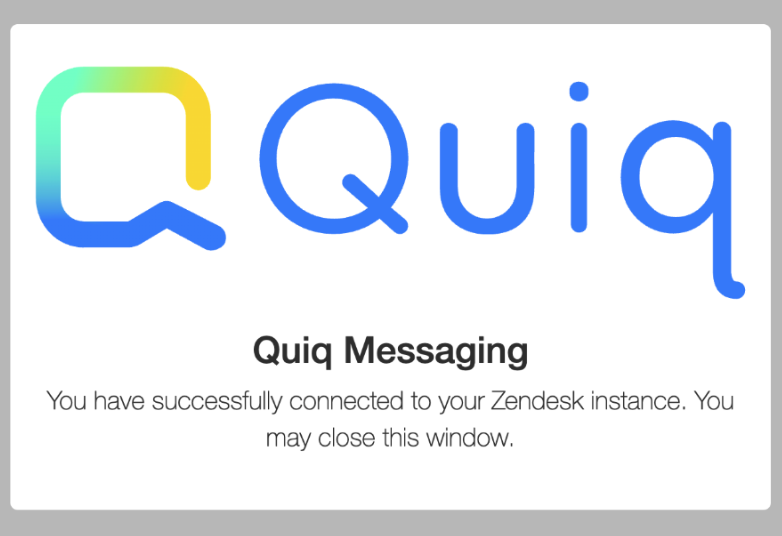
- Finally you should see the pop-up window display the following image, which means the connection was successful and you may close the pop-up window
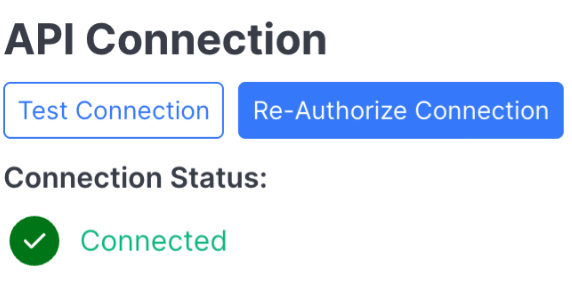
- Back in the Quiq Admin area, you should see that the connection status shows as "Connected." If for any reason it shows "Disconnected," please click the "Test Connection" button to see if that resolves the issue.
Zendesk Quiq Messaging App
To view conversation history within tickets in Zendesk, install the Zendesk Quiq Messaging App. Add the app to your Zendesk instance by navigating to the following URL in your browser, replacing {YOUR-ZENDESK-SUBDOMAIN} with the Zendesk subdomain where you would like to install the app:
https://{YOUR-ZENDESK-SUBDOMAIN}.zendesk.com/admin/apps-integrations/apps/support-apps/install/121773?plan_id=561
- Add a title, e.g. "Quiq Messaging"
- Fill in Base Quiq Url with
{YOUR-QUIQ-TENANT} - Select the checkbox for Top Bar Full Quiq Integration
- Set any restrictions and click Install
Testing
Let your Quiq Implementation Specialist know when all the steps are completed, and we will test together to ensure that everything is working properly.
Updated 2 months ago