
Okta SSO Setup
Learn how to use Quiq with Okta Single Sign On (SSO).
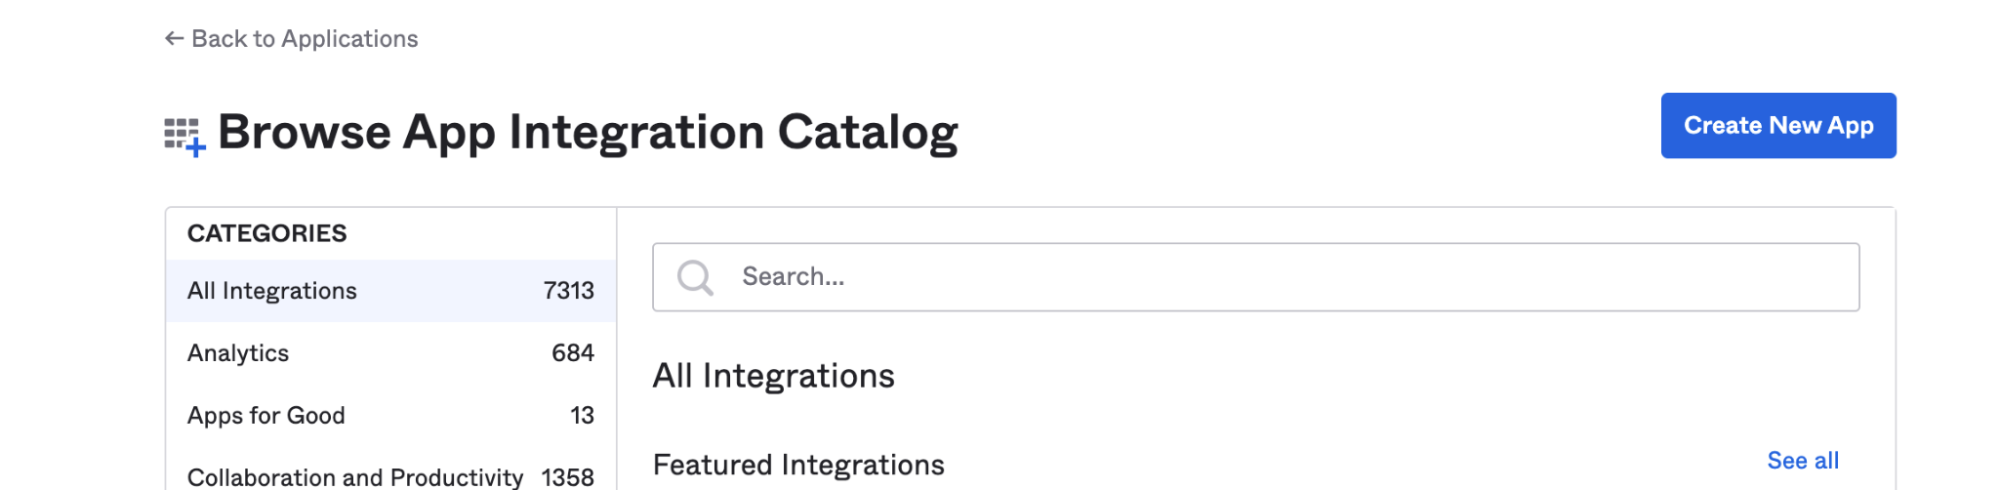
- Create a new App
- Select OIDC - OpedID Connect
- Choose Web Application
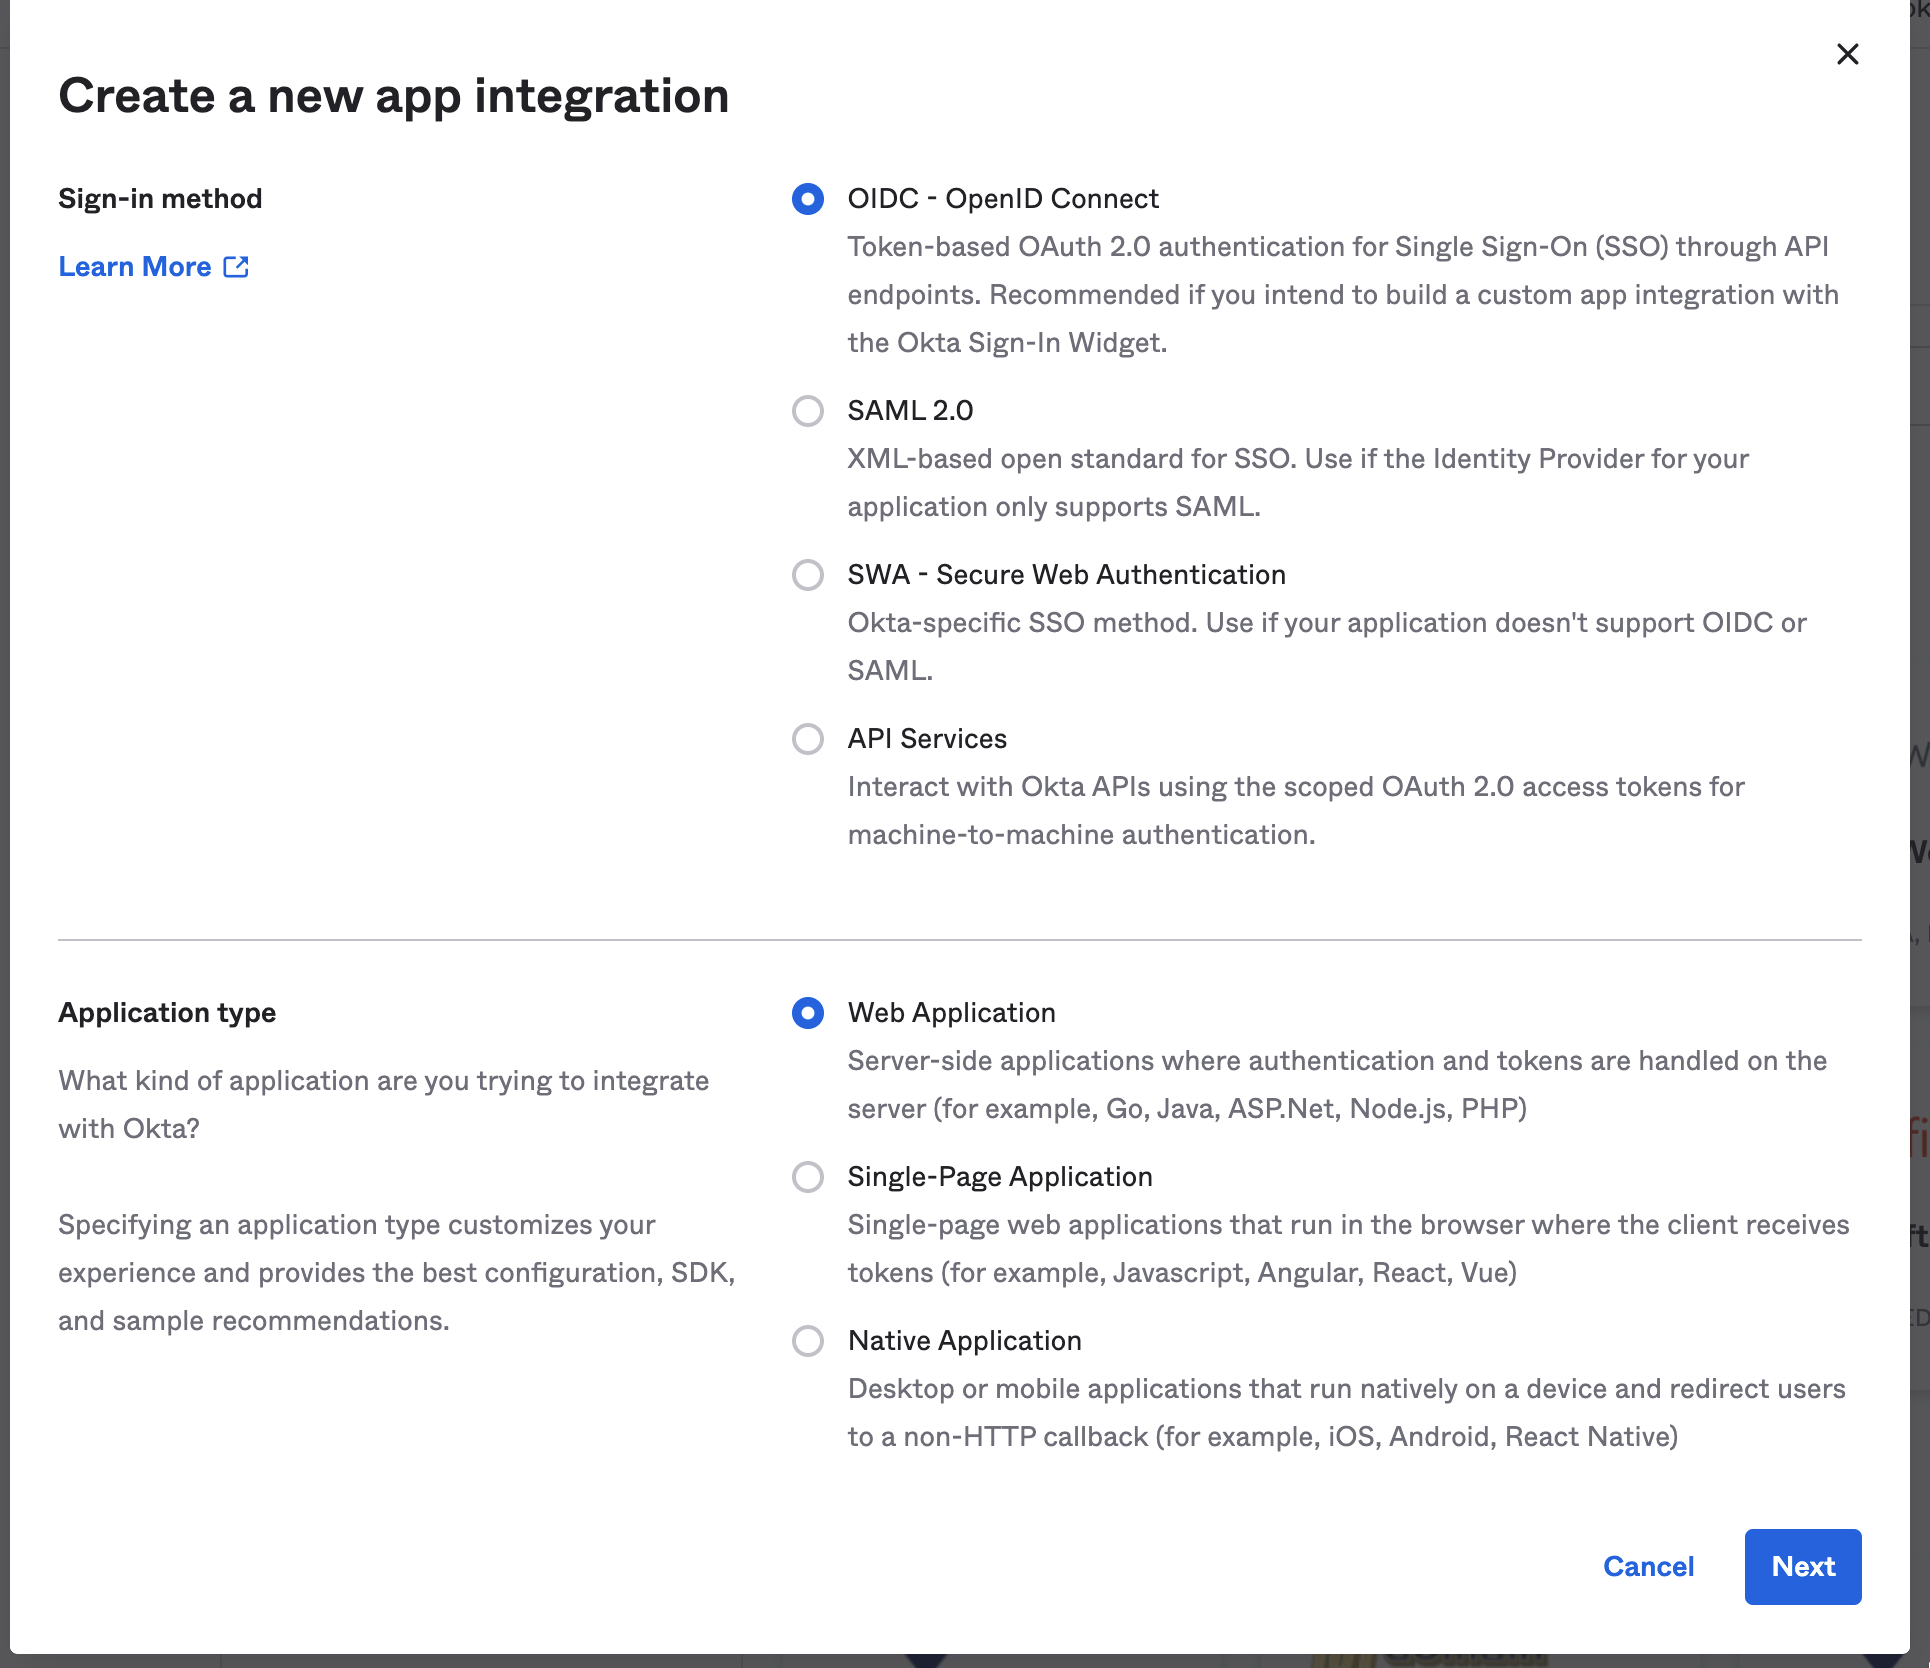
- Name the app Quiq.
- For Sign-in redirect URIs input: https://<YOUR_QUIQ_TENANT>.goquiq.com/idp/callback/okta
- For Initiate login URI input: https://<YOUR_QUIQ_TENANT>.goquiq.com
make sure to replace YOUR_QUIQ_TENANT in the url above with your tenant name
Important: Do not paste the /callback URL into the Initiate login URI field.
• The Initiate login URI is used when a user clicks the Quiq tile on their Okta dashboard to start the login process.
• The Sign-in redirect URI is where Okta sends the user after they have successfully authenticated.
Setting these to the same value will cause the Okta dashboard tile to result in an error.
- For Assignments assign the groups to your needs, you can allow everyone to access or control access into Quiq by Limiting to selected groups.
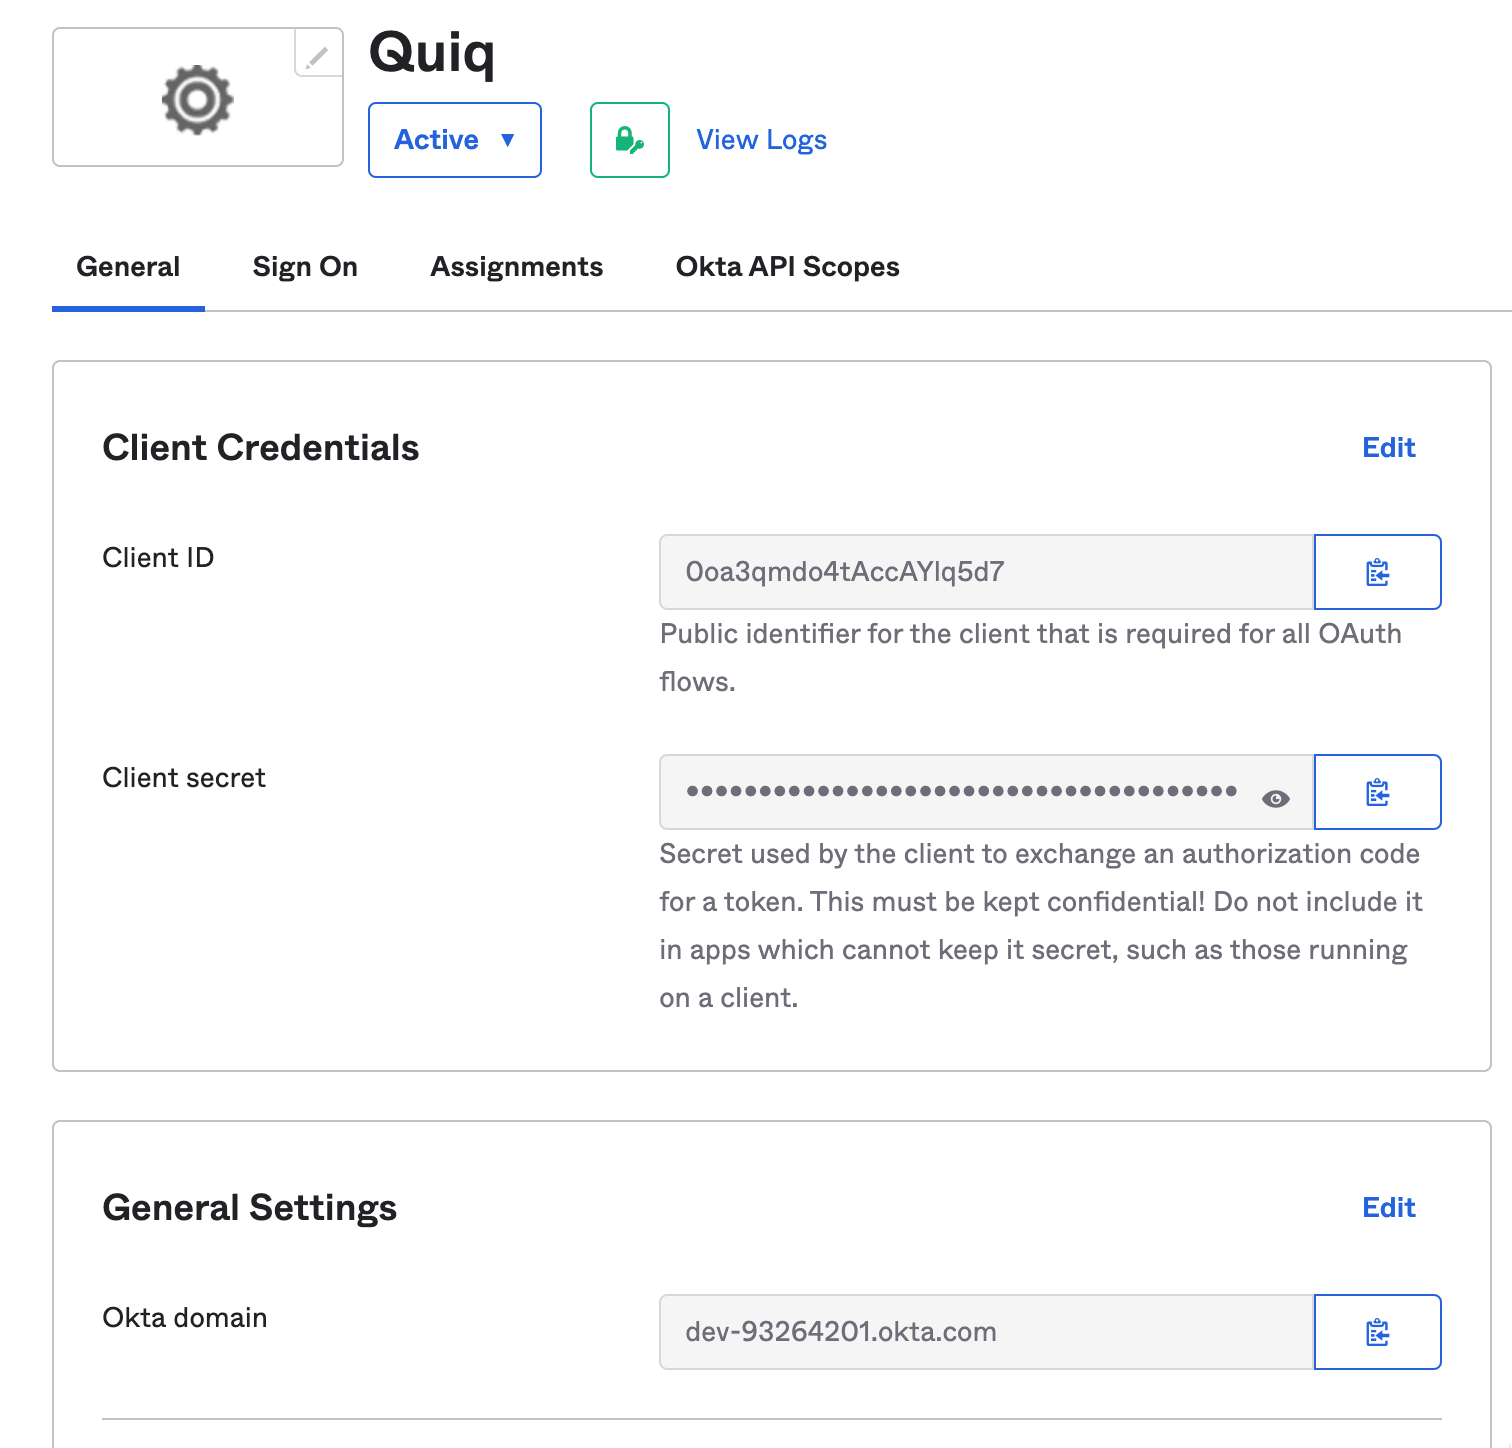
- Gather info from your setup to pass along to your Quiq implementation specialist.
- Pass the information securely by inputting the info into https://yopass.quiq.com/ and generating a link. Then email your implementation specialist the link.
- Your implementation specialist will need the following information:
a. client_id
b. client_secret
c. Okta domain
- That should be it! Once your implementation specialist injects these values securely into the Quiq platform Okta can act as your Single Sign On for Quiq.
Updated 4 months ago
Did this page help you?