
Topic Settings
Outbound Notifications Topic Settings
Overview
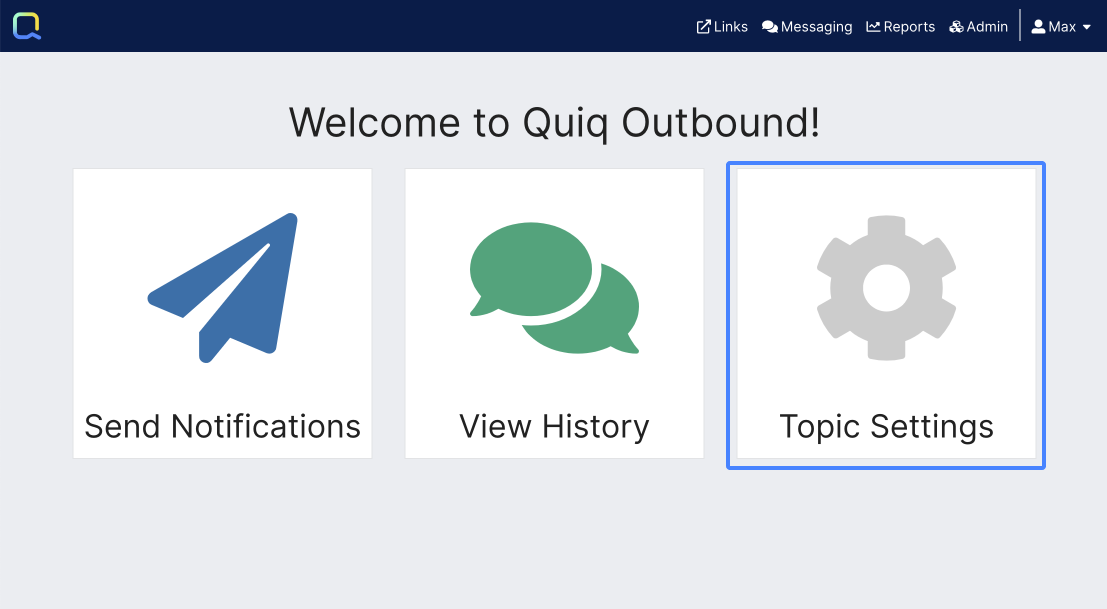
Click the Outbound button from the toolbar on the top left of the Quiq application, then choose the "Topic Settings" option. The Topic Setting screen allows the user to manage Topics, including creating, disabling, and editing topics.
Creating a Topic
1. Click the "+ Create New Topic" button
2. Enter a Topic Label
3. The Topic ID will auto-populate. You may change it before saving, but once the initial topic is saved you will not be able to change this ID.
4. Click "Add Topic" button
Editing a Topic
1. Click the pencil icon next to the topic
2. Update the label
3. Click "Save" button
Disabling a Topic
1. Click the trash can icon next to the topic
2. Confirm that you want to disable the topic
3. Click "Disable" button
⚠️ NOTES
- Topics may only be disabled, not deleted. Disabled topics are not available in the "Send Notification" dropdown list of topics.
- A Topic may be re-activated by switching to disabled topics, and selecting the recycle icon for the topic to be re-activated.
- The default topic can not be edited or disabled.
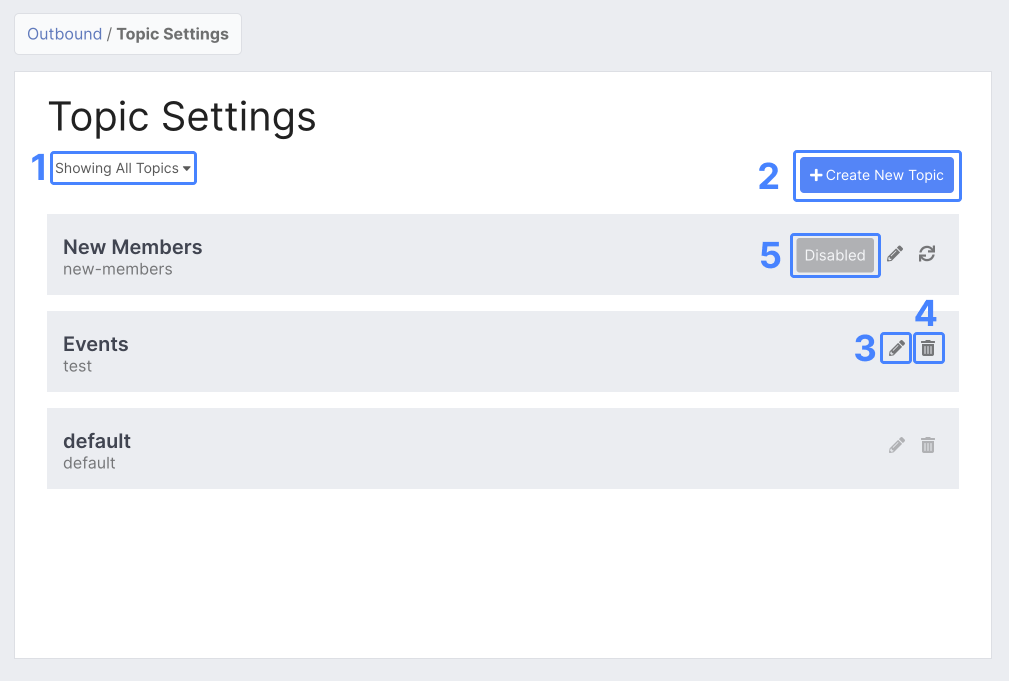
- Topics: Use this dropdown to show active, disabled, or all Topics.
- Create New Topic: Use this button to add a new Topic.
- Edit: Modify an existing Topic
- Delete: Disable an active Topic, Disabled Topics can be viewed using the dropdown in the top left.
- Reactivate: Reactivate a Disabled Topic.
Topic Fallback
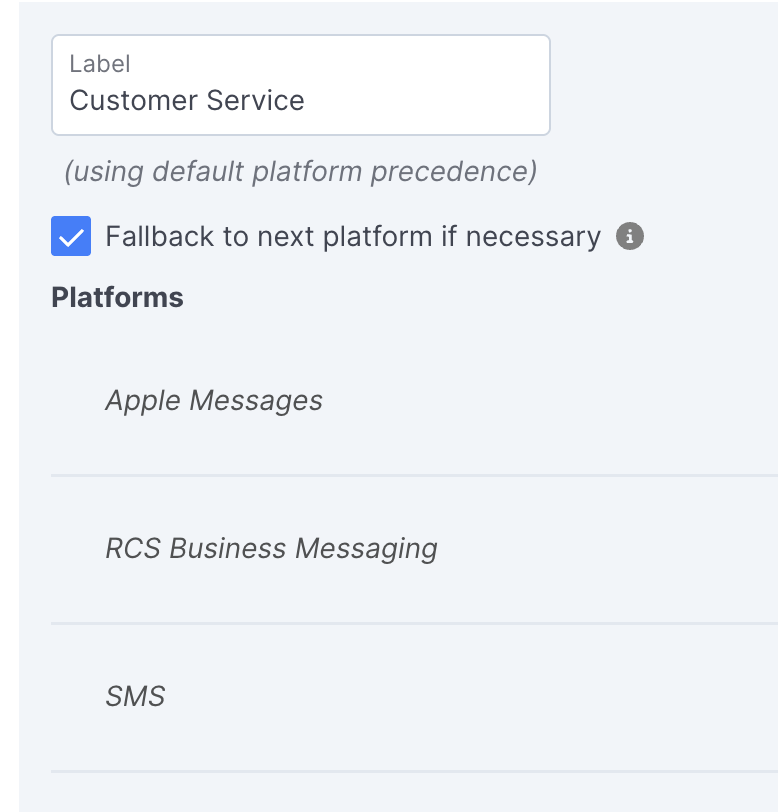
The Fallback to next platform if necessary checkbox retries a notification on the next platform in the Topic's precedence order when it was sent on Apple Messages, RCS Business Messaging, or WhatsApp and the end user cannot receive messages there:
Updated about 2 months ago