Send Notifications
Send Outbound Notifications
Sending an Outbound Notification Message
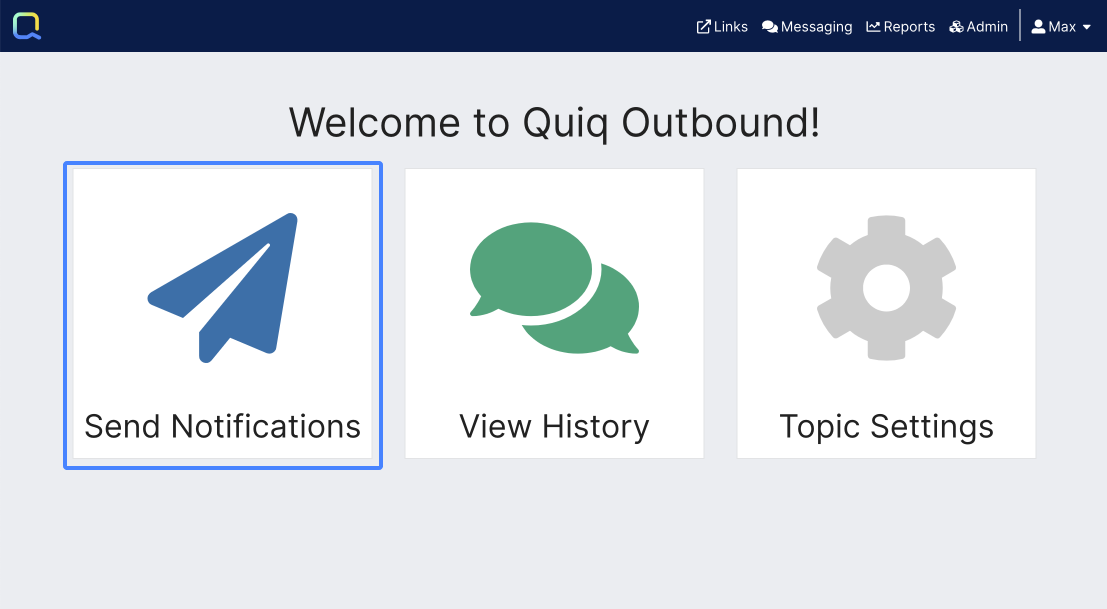
Click the Outbound button from the toolbar on the top left of the Quiq application, then choose the "Send Notifications" option.


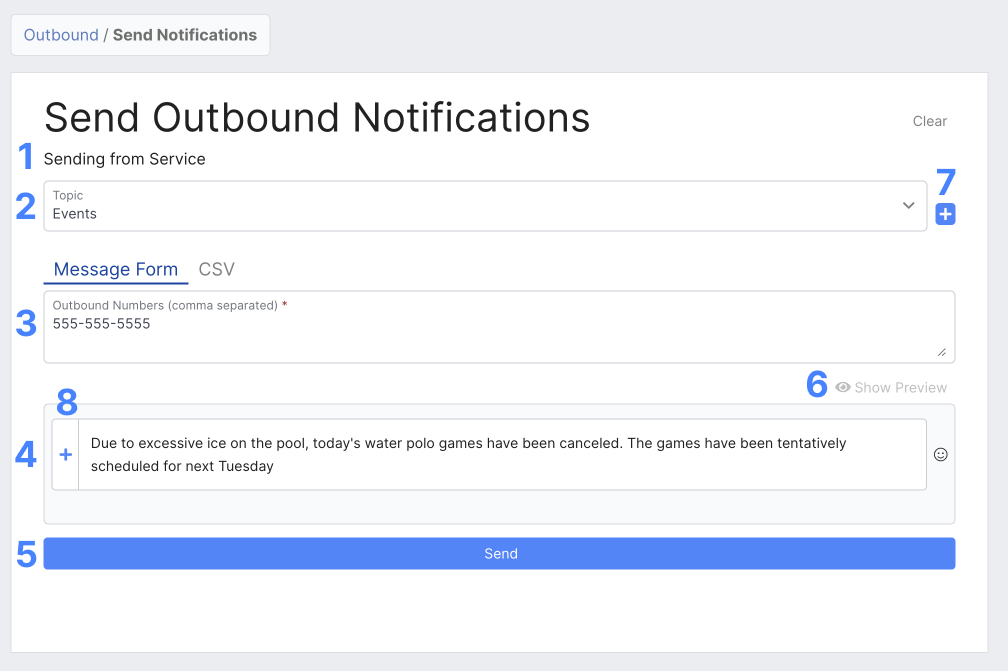
1. Select the appropriate contact point to send from. In essence, this is the phone number that the outbound notification will be sent from.
User PermissionsUsers will only see the contact points they have permission to send from. If the user only has permission for one contact point, this will be set as the default.
2. Select a Topic or add a new one. Topics allow notifications to be grouped and identified separately. Click the " + " icon to add a topic.
3. Enter recipient numbers separated by a comma. Use the following format: +15551234567, +15551234568, +15551234569
4. Enter the text message to send. Emojis (if enabled) and snippet content may be used for notification message content. Click the "Show Preview" option to review your message before sending.
5. Send your message by clicking the "Send" button.
6. Use the show preview button to preview your notification.
7. Create a new Topic.
8. Add a Snippet to your Outbound Notification
The Send button will be disabled until all the required fields have been added.
Long Messages Warning
Messages that exceed the character limit for a single SMS message (160 characters) will be split into the necessary number of messages and a warning will be displayed. The user must either check the warning acknowledgement, or reduce the message size to allow the message to be sent.

Confirmation
When the notification is sent, a confirmation banner is displayed.

Errors
If the entered phone number(s) are not valid SMS recipients, or the message send fails immediately, an error message will be displayed and the problem number(s) is shown.

Updated 3 months ago
