
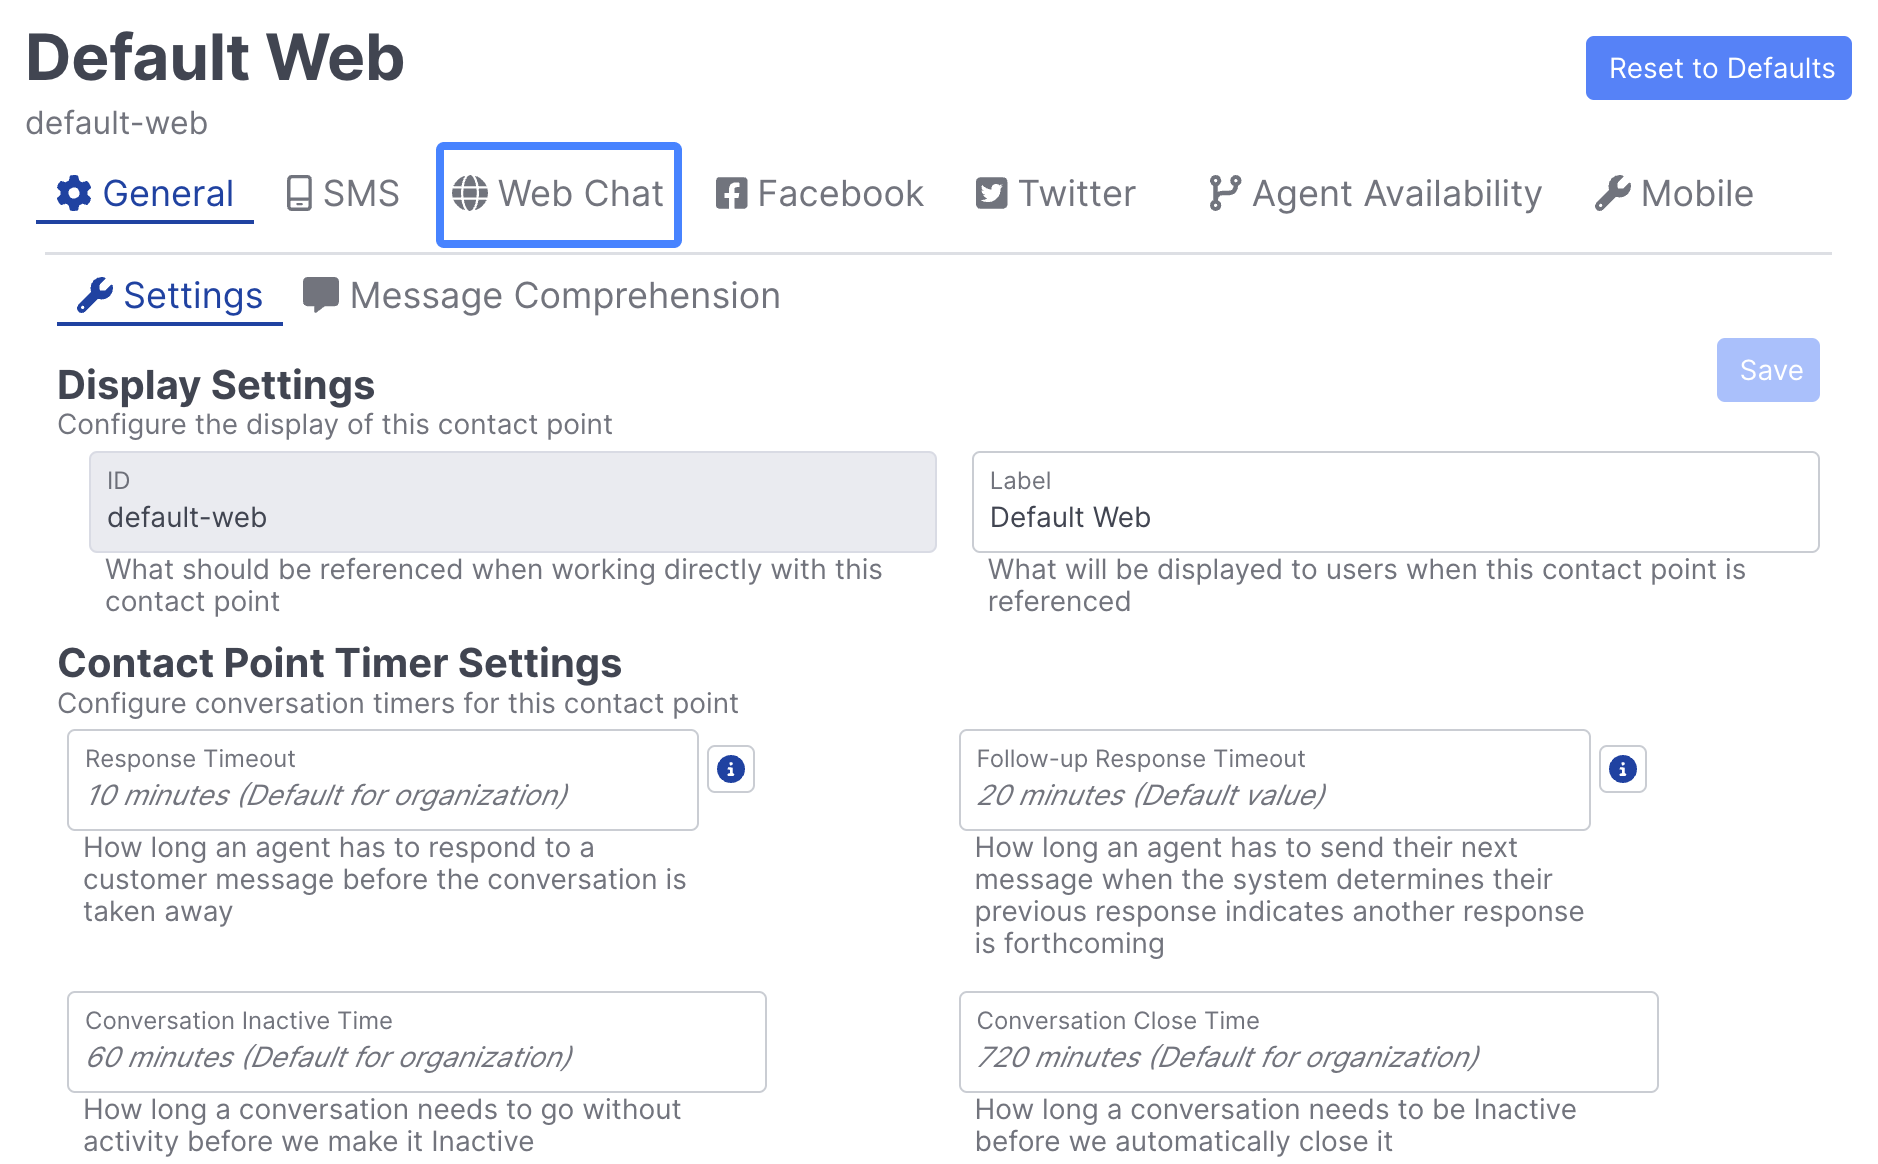
Web Chat
The Web Chat tab enables admins to configure Web Chat specific settings for a given contact point.
Web Chat Enabled
This is the master switch allowing the admin to control whether Web Chat is turned on or off:

Toggling to off makes the remainder of the options unavailable. Enabling Web Chat here is not the same as implementing it on a web page. Reference the Quiq web chat SDK for details on placing the chat client on a web site.
Web Chat Status
Indicates whether the Web Chat button would be visible given the Agent Availability Rules configured for the Web Chat platform on this contact point.

After a rules change, this will be re-evaluated and may take up to a minute to update.
Web Chat Settings
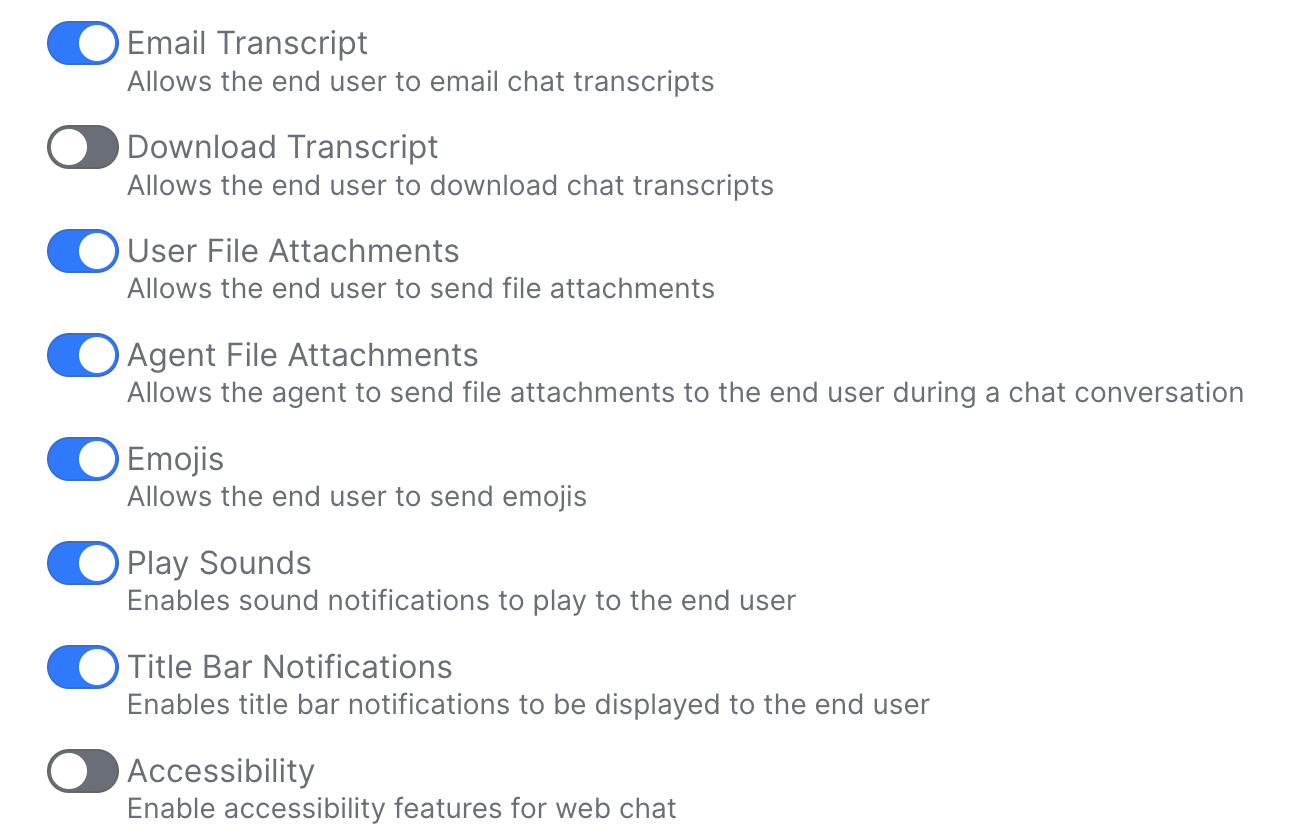
Email Transcript
Causes a button to appear at the end of a Web Chat conversation that allows the customer to request a transcript of the conversation to be emailed to them.
Download Transcript
Causes a button to appear that allows customers to download a .txt file of their Web Chat transcript.
User File Attachments
Enables the ability for the customer to attach files to a Web Chat conversation, making the file available to an agent. This is essentially the same functionality as SMS attachments but can be disabled in Web Chat for added security. Only a certain set of file types are available for upload, such as images and PDF files. For a full list of supported files types please see the list here.
Agent File Attachments
Enables the ability for agents to attach and send files to a customer in Web Chat conversations.
Emojis
Enables a set of emojis for the customer to include in messages sent in Web Chat conversations.
Play Sounds
Sound notifications for the customer bring attention to new message notifications generated by Web Chat. Toggle this off to disable sounds.
Sound notifications will only play when the Web Chat window is closed, or when it is not the active tab on desktop Web Chat.
Title Bar Notifications
Toggle on to allow the browser tab to display new message notifications for the customer.

Title bar flashing only works on desktop web chat.
Accessibility
Enables features related to accessibility best practices in the Web Chat application. These are updated regularly, and enabling this option allows you to remain opted in to receiving accessibility-related enhancements as they are released.
Whitelisted Domains
Entries here control what web sites are allowed to host chat clients associated with the contact point. A blank entry allows any server. Quiq recommends this always be completed for security purposes. Use wildcards to allow multiple hosts to display the chat client.
Mobile Options
Allows redirection of mobile devices away from Web Chat and to the native mobile messaging platform, such as SMS, Apple Messages or WhatsApp.
Menu Options
Allows additional items or links to be added to the customer's Web Chat menu.
Web Chat Colors
Color styling may be accomplished here vs. having to apply extra JavaScript parameters to the web implementation. This allows a Quiq admin to change the Web Chat appearance without any web developer time consumed or change orders required. The preview to the right allows a realtime review of how the Chat window will appear to the customer.
Web Chat Fonts
Allows selection of a specific font to be used for the customer Web Chat window. Note the specifics in the settings description here.
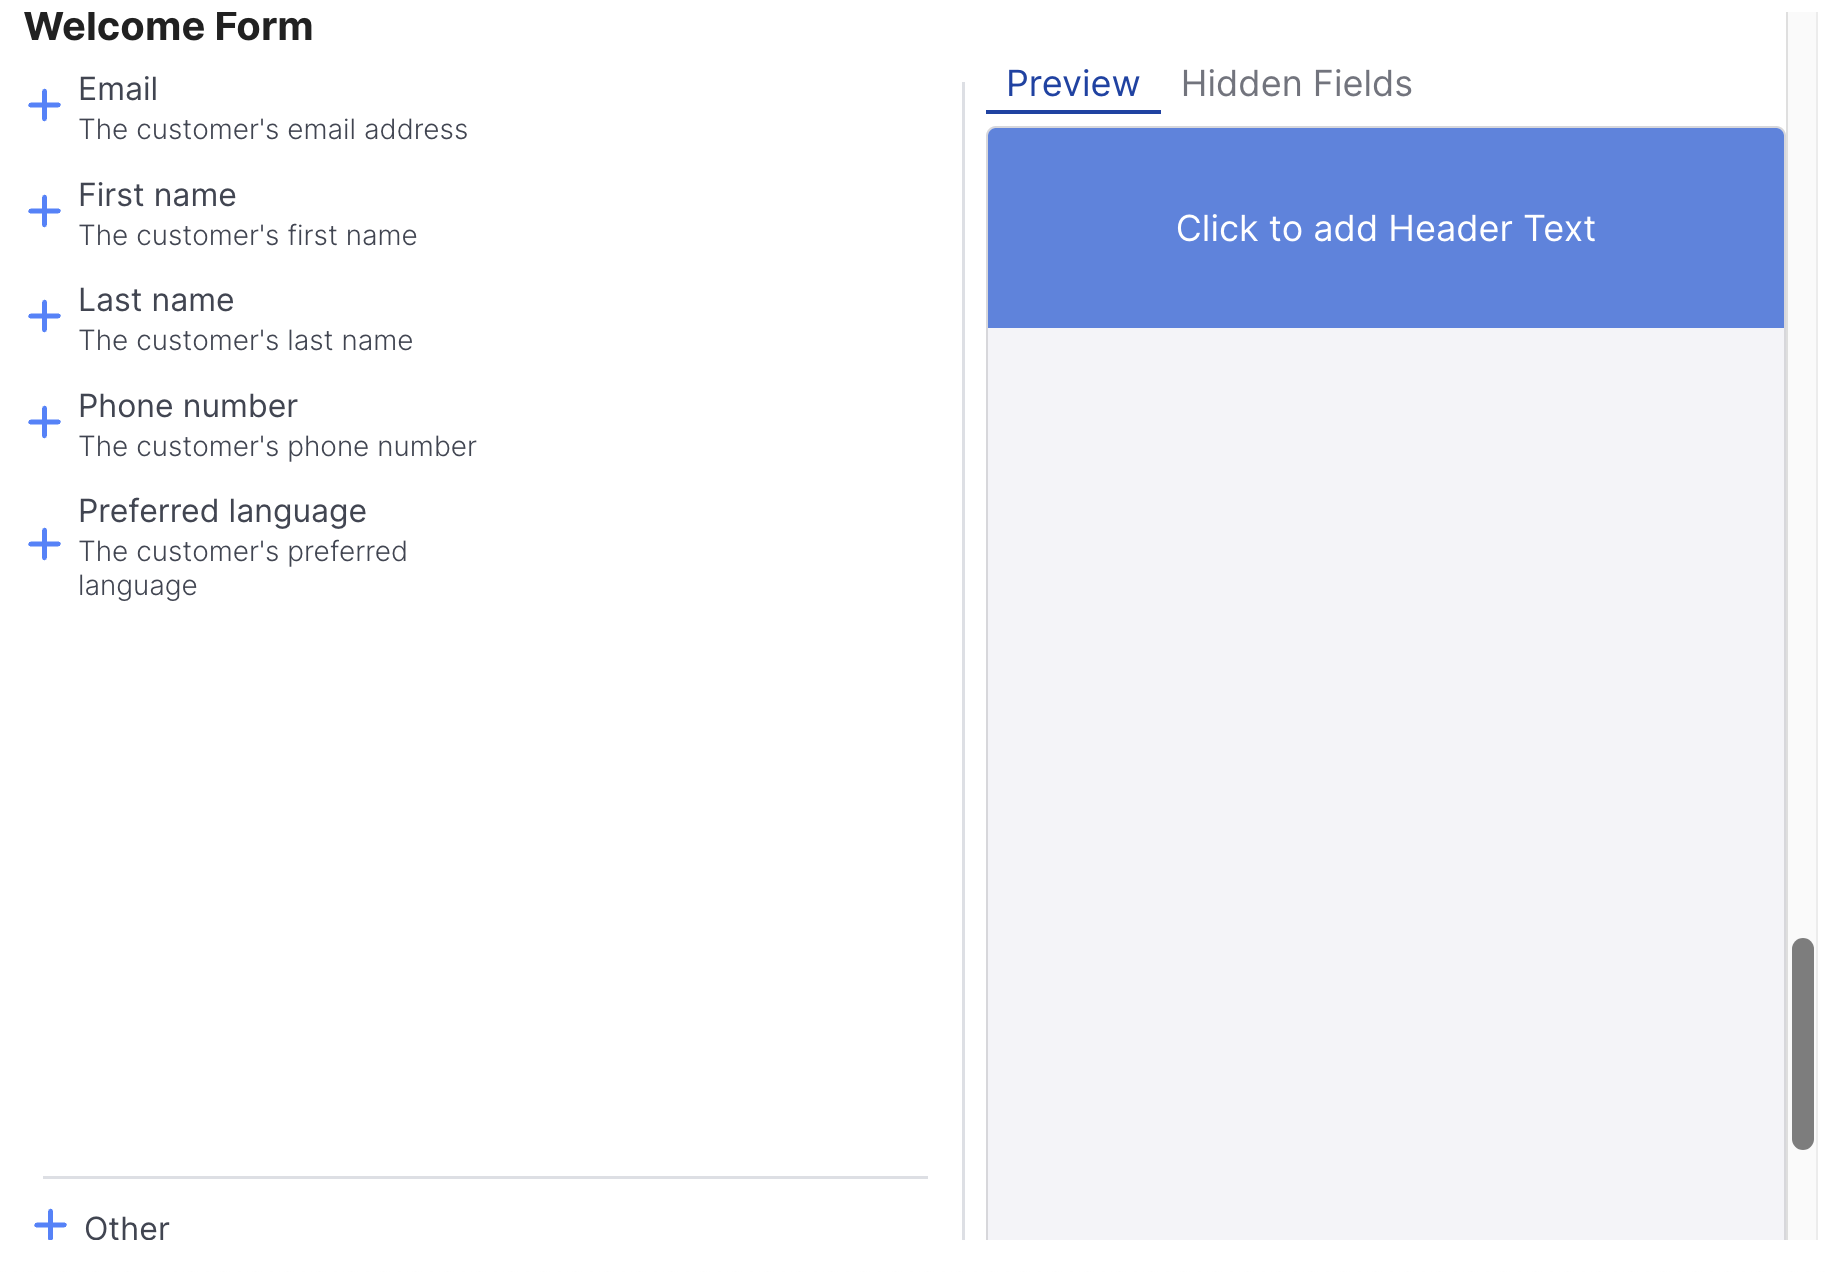
Welcome Form
This section allows creation of a Welcome Form which is displayed to customers before they are passed to the Chat transcript screen. Fields may be marked as required and thus must be populated to allow the customer to submit the form. Fields are placed in the order added to the form. Ensure that the desired top field is added first, and subsequent fields are added in order.
Custom Fields can be edited after being added, to change the label and required options.
After changes are made to the form, click the Save button at the top right of the panel.
Agent Availability Rules
Complex conditions and parameters may be set here to define when the Web Chat button is visible on a page. While the title suggests the original capability of just being shown when agents are available, rules may now consider a large set of variables to determine if the Web Chat button is displayed.
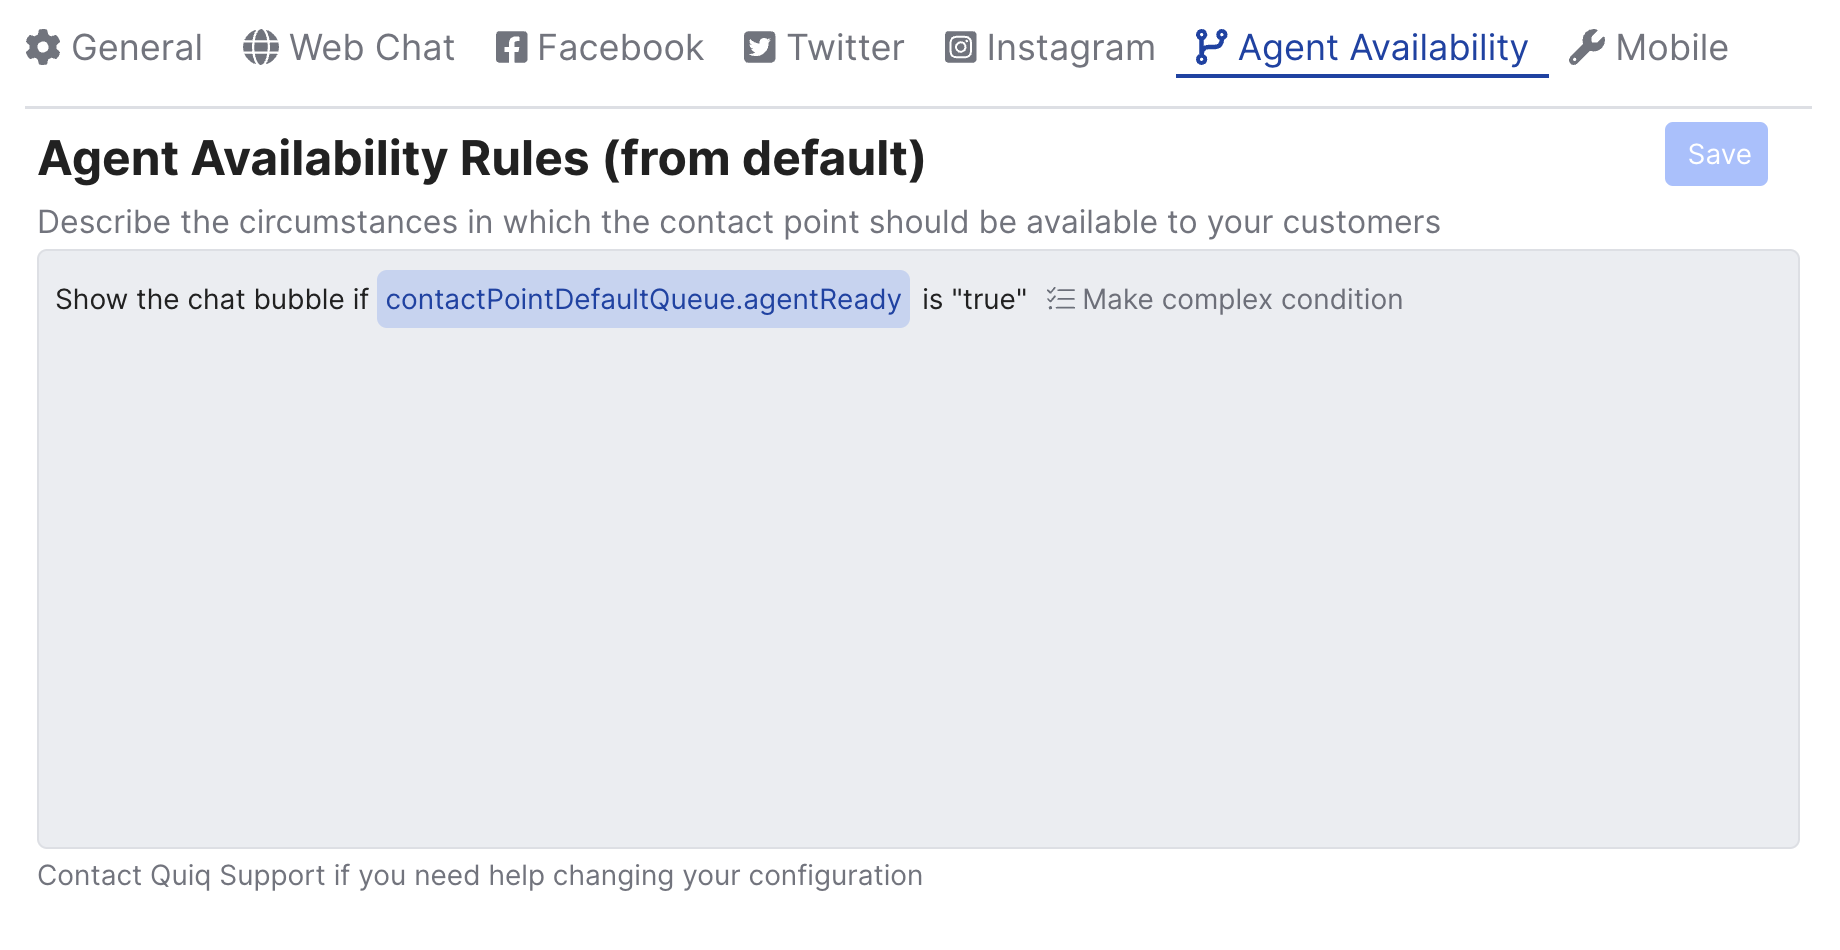
Note that this may be overridden by the JavaScript used on the page where Web Chat is provided. These rules will work for a default implementation.
Conditions may be added for time of day or day of week, queue volumes, available agents, etc. Reference the Conversation Rules section for specifics on the Rule editor. Once changes are made, it is necessary to scroll to the top of the page and click the Save button to ensure changes are applied. Once saved, the Web Chat Status will update to indicate if the Chat button should be displayed.
Updated 3 months ago