
Roles
Overview
Some organizations may want to utilize multiple Queues to align with different business units, functions, or brands. Roles provide a method to associate users to these Queues, and specify which Queues agents may receive conversations from, and route conversations to.
Agents may belong to multiple Roles. This should be considered to note the impact to the agent and understand that conversations may be offered to these multi-role agents from various Queues.
Organizations with a basic Quiq implementation may not find the need to utilize Roles. A default Role titled Everyone is created by default and includes all users and provides access to the Default Queue.
Creating a New Role
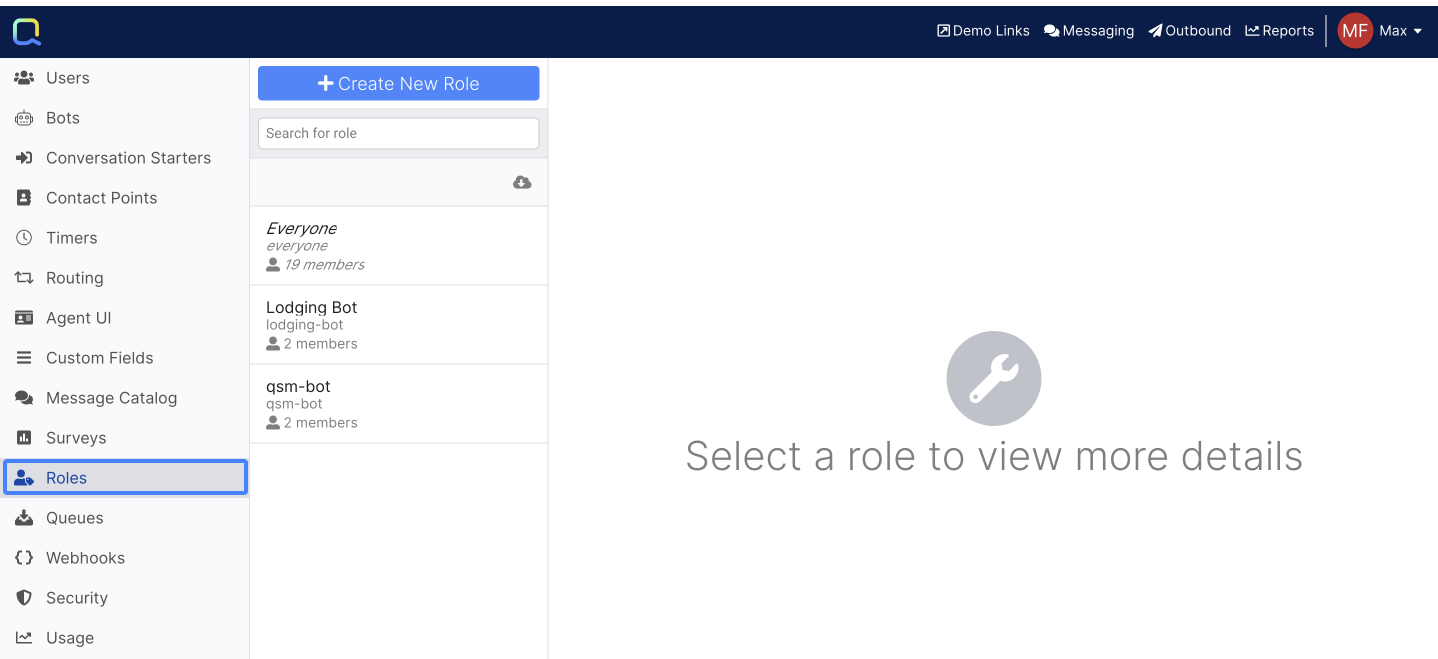
Click the Create New Role button to open the Role editor. Enter a label that indicates the purpose of the Role. The entire list of configured agents is displayed under the Members heading. Click the agent to be added to the Role, and click again to deselect. After the Role is created, members may be added or removed at will.
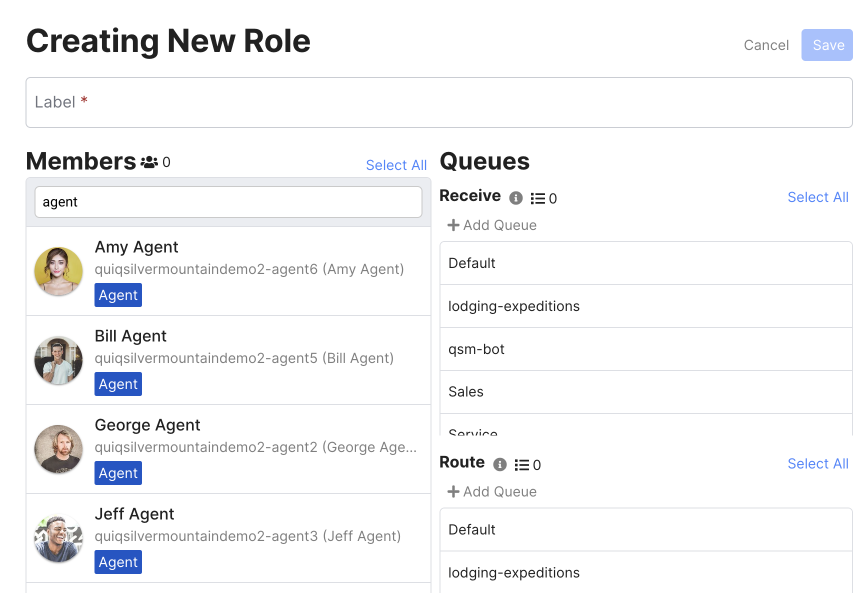
Queues are specified as Receive or Route. Queues selected in the Receive list will have the unassigned conversations in that Queue offered to members of that Role. Route Queues allow an agent to move a conversation to a different Queue. Roles may be specified without Queues to provide access to users who may not converse with customers, but need access to the Quiq application, or used to grant Send Notification or Start Conversation privileges in Contact Points configuration.
Editing a Role
Select an existing Role to display the editor. Select Edit in the Members or Queues sections to change the selected items. Note that the Everyone Role may have Queue changes made, but the Members list must include all users and can't be edited.
Disabling Roles
Roles can be disabled from the Admin UI by any admin user. When disabled, a Role's Queue memberships are ignored for conversation routing. Agents will not receive conversations through a disabled Role unless they have another active Role granting the same access. The default Everyone Role can not be disabled.
Disabled Roles are removed from selection lists throughout the platform so new configurations cannot reference them, though existing configurations (such as Workspace Rules) will continue to function.
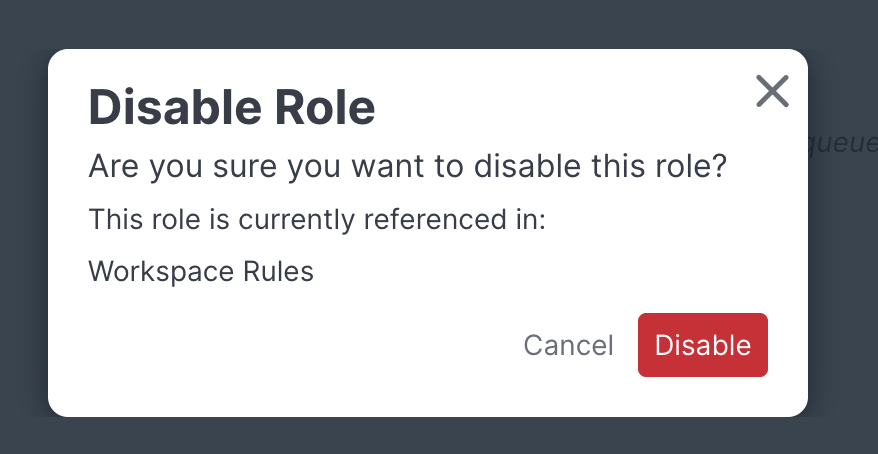
Before disabling, a confirmation modal dialog will list a dependency if the Role is referenced in the live published version of Workspace Rules so you can review it. You can proceed even if a dependency exist:
To view or re-enable disabled Roles, use the Show active roles/disabled roles toggle button at the top of the Roles list. A disabled Role must be re-enabled before it can be edited.
Disabling and enabling Roles is recorded in the Audit Log under Admin > Account & Governance > Security > Audit Log.
Note: The Everyone role cannot be disabled.
Updated about 1 month ago