
Users
Overview
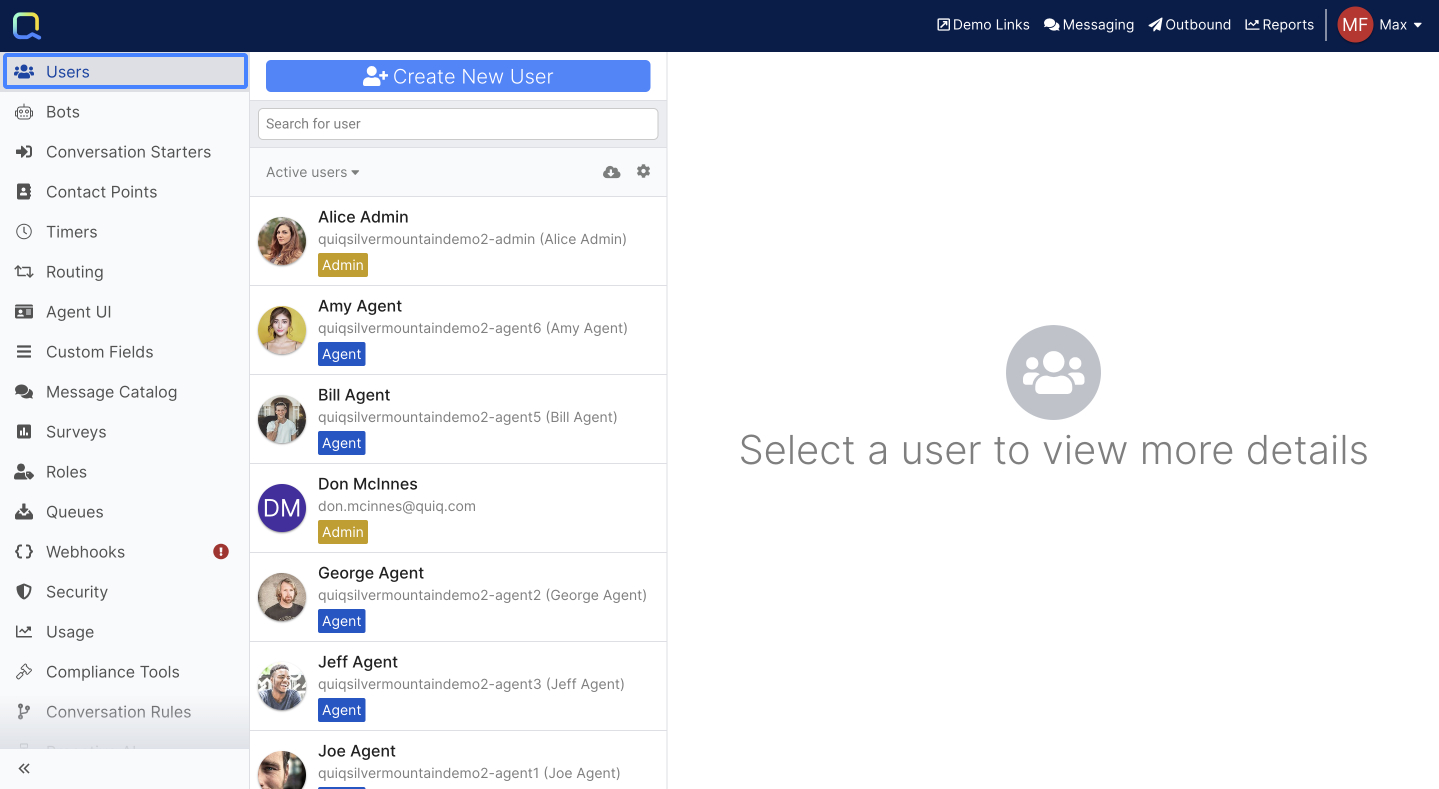
The Users section allows you to view and manage all of the Users in your tenant.
Creating Users
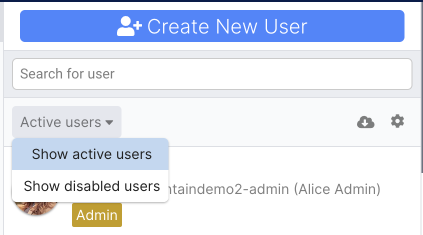
Use the Create New User button to create a User, then fill in the appropriate fields. The Email Address must be deliverable, so the user can receive an automated email with password initialization instructions.
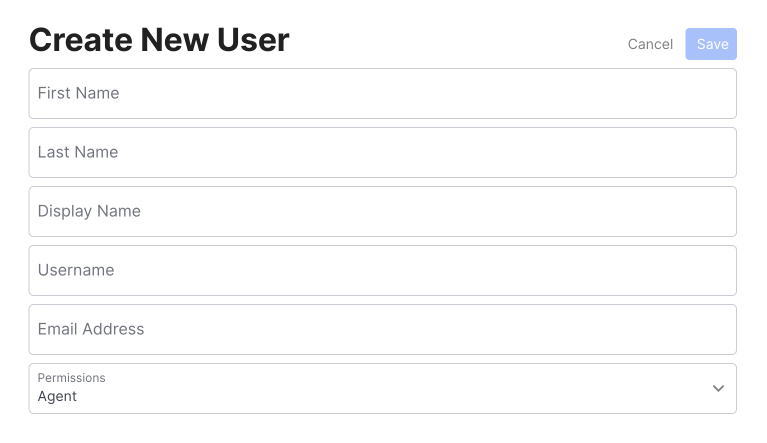
The create new user form.
In addition to the required fields, you can also select Roles that the User should be associated with - by default everyone will belong to the Everyone Role. You can learn more about Roles here .
External IDQuiq provides an optional External ID field that can be associated with each agent that will be available on Quiq Webhooks. Please reach out to your account manager if you'd like help enabling.
Users & CRM IntegrationsCustomers with CRM integrations may not have the option to create users on this screen. This is due to the identity provider function being assigned to the CRM application. Use the CRM profile and user manager function for user management.
Reset password triggers an email to the user allowing the user to set a new password. This does not immediately invalidate the existing password. The link sent must be used within 24 hours. If the link is not used, no changes are made to the account.
Permissions
There are 4 levels of Permissions in the Quiq platform that can be granted to Users.
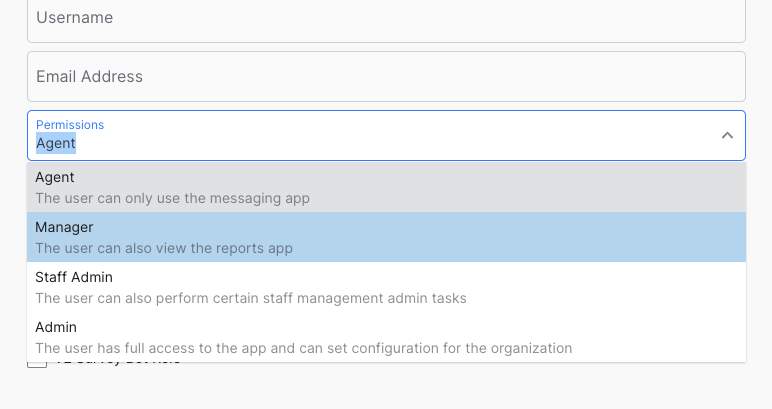
Agent
A User with Agent permissions can use Messaging.
Manager
A User with Manager permissions can use Messaging and Reporting.
Staff Admin
A User with Staff Admin permissions can use Messaging, Reporting, and some Admin functionality pertinent to a Staff Admin. Learn more
Admin
A User with Admin permissions has access to all parts of Quiq, including Messaging, Reporting, AI Studio Admin, and Outbound.
Editing Users
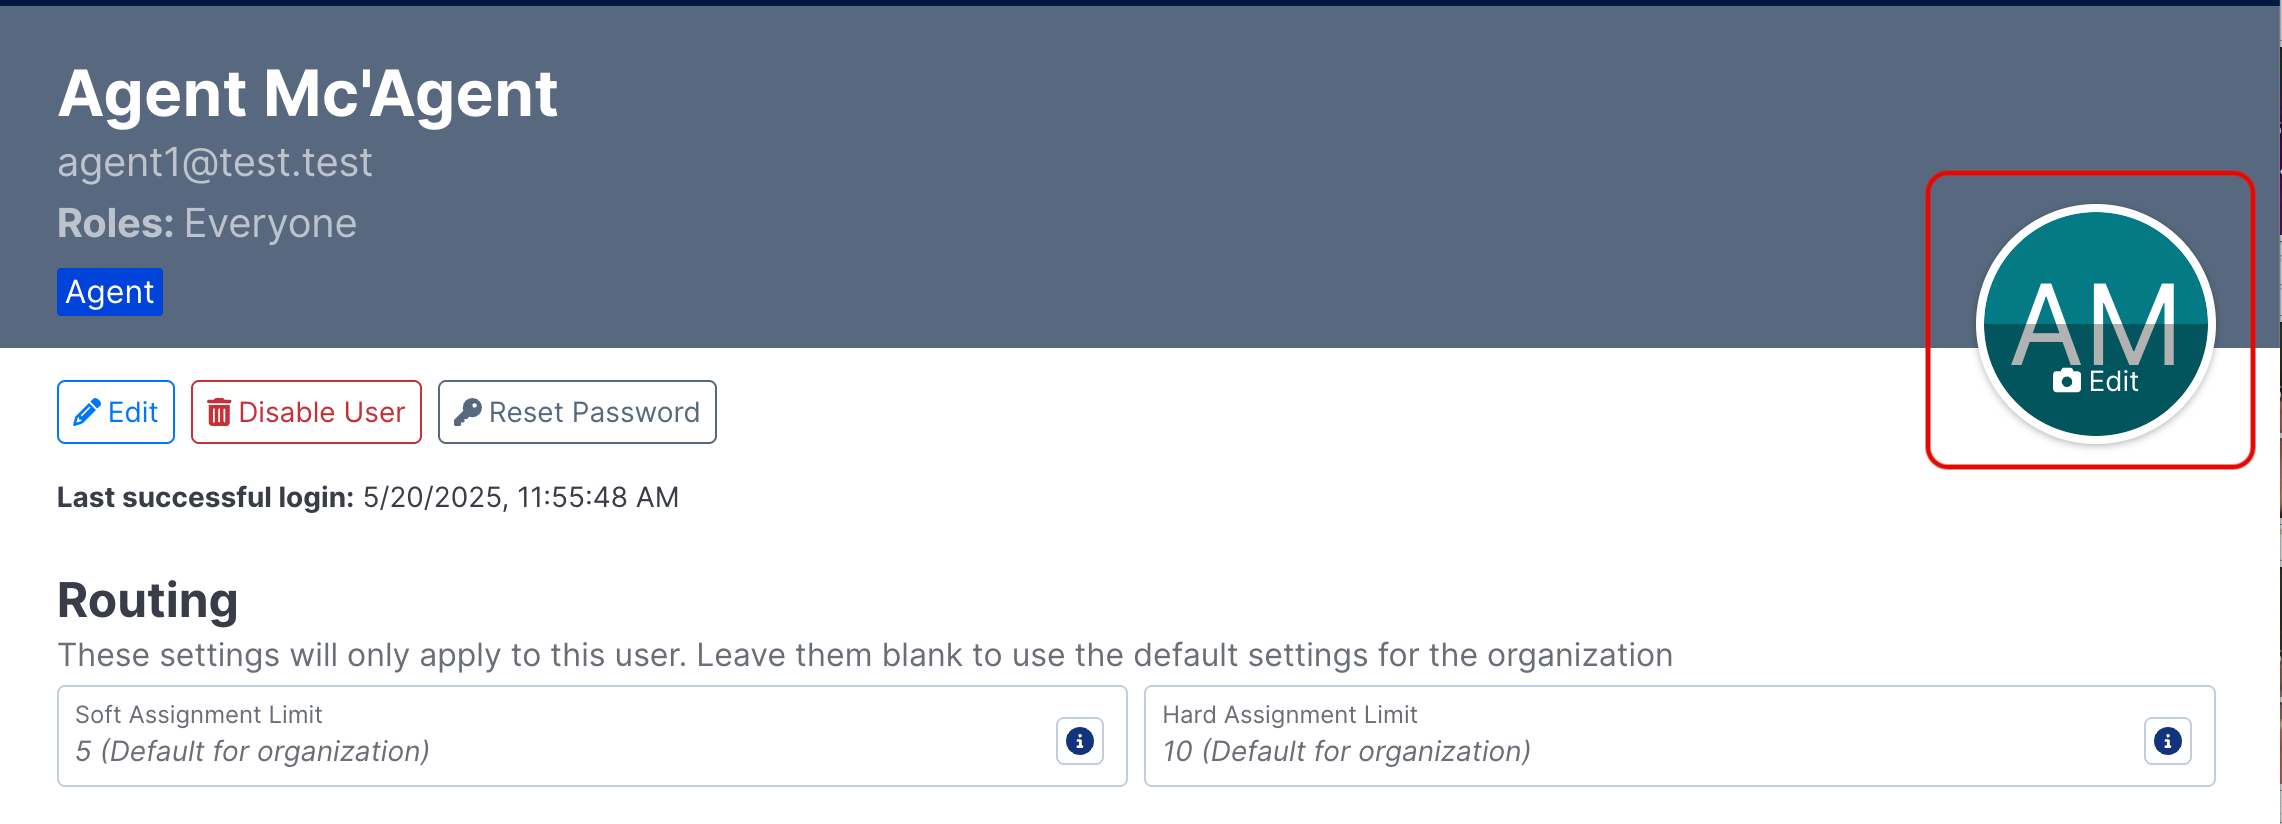
Users can be updated by clicking the Edit button. Agents may have specific routing assignment limits applied. Reference the Routing section for details. Experienced agents may be given higher limits, while new agents have lower limits applied than the standard.
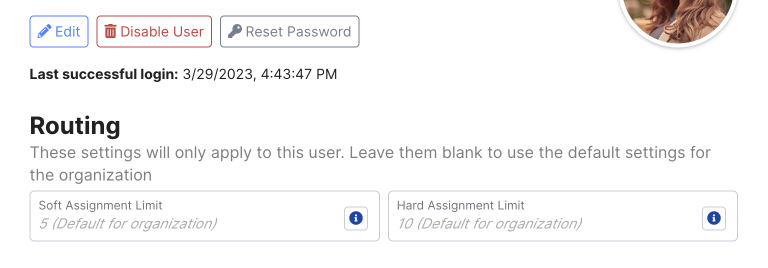
Soft & hard assignment limits on a specific agent.
All fields but Username are available for editing via the Edit button for existing users. Manager, Staff Admin, and Admin permissions may also be applied to the account, and the User may be added to existing Roles.
An Admin can override the Display Name that an individual User has set in Settings > Profile by updating the Display Name field value in the User details page. When set for a User, the Display Name displays in parentheses following the Username in the left-hand-side sidebar list of Users.
A User's profile picture can be updated by clicking the Edit button that displays when hovering over the current avatar in the User details page. If the User has already set a custom profile picture in Settings > Profile, an Admin can either clear that picture so that the default avatar will be used, or upload a new custom picture - note that the profile picture set in Admin > Users will override a custom profile picture set by the individual User in Settings > Profile.
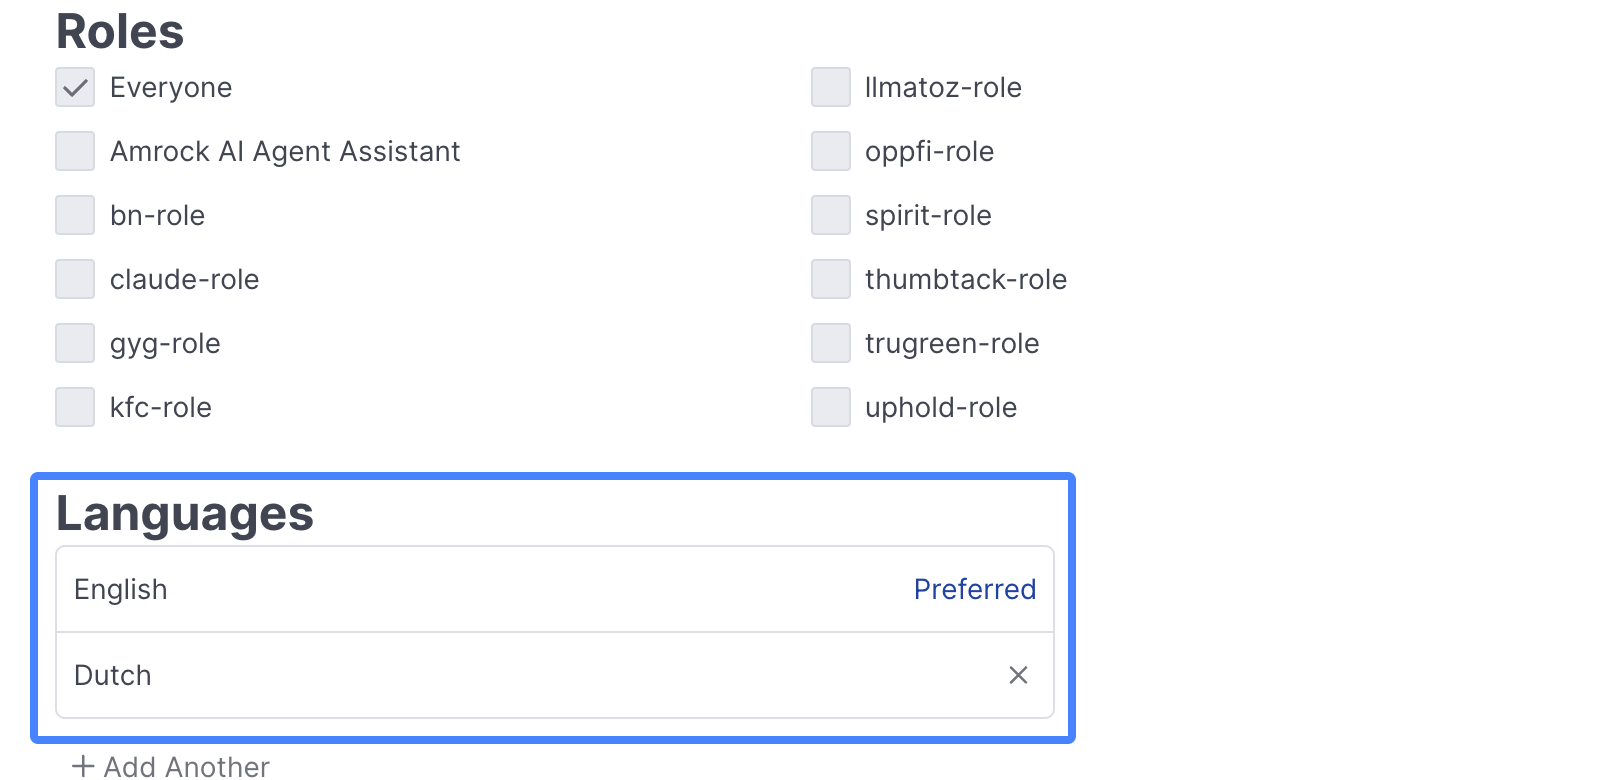
Languages
If enabled, a Languages section will be available below Roles. This allows Admins to define languages that an agent is proficient in and doesn't need Translation for. If translation is enabled and the agent supports multiple languages, the agent's preferred language will be the language messages are translated into.
By default, agents will use the languages defined in Admin > Languages. Languages added for an individual user will override the Tenant level setting.
Disabling Users
Click the Disable User button to bar the user from access to the Quiq system. Disabled users may be viewed by choosing the Show disabled users option from the dropdown menu. Disabled users may be re-enabled at will.
Exporting Users
Use the Export User Data button to download a CSV report of Users in Quiq:

The CSV will contain a number of columns, including: username, firstName, lastName, permissions, lastLogin, hardLimit, softLimit, isLockedOut, isDisabled, and email. A twoFactorEnabled column will also be included if your site uses Quiq as the identity provider (IdP).
Default Avatar Style
The Set default avatar style (gear icon) button allows you to select a default style that will be used for the default profile avatars that display throughout the Quiq application for all Quiq Users, AI Agents & AI Assistants who don’t have individual custom profile pictures set. It's also used for the avatar that displays with customer messages in the conversation transcript, in platforms that don’t allow customers to set an individual custom avatar.
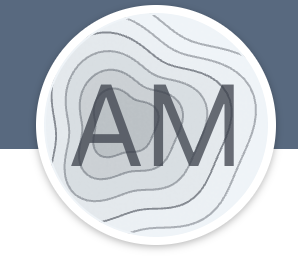
Four avatar styles are available - Solid Color, Gradient, Topographic and Topographic (subtle). All styles will display initials derived from the individual's First Name and Last Name, when available.

Solid Color style example:

Gradient style example:

Topographic style example:

Topographic (subtle) style example:
Updated 15 days ago