
Ping Setup
Learn how to use Quiq with Ping Identity.
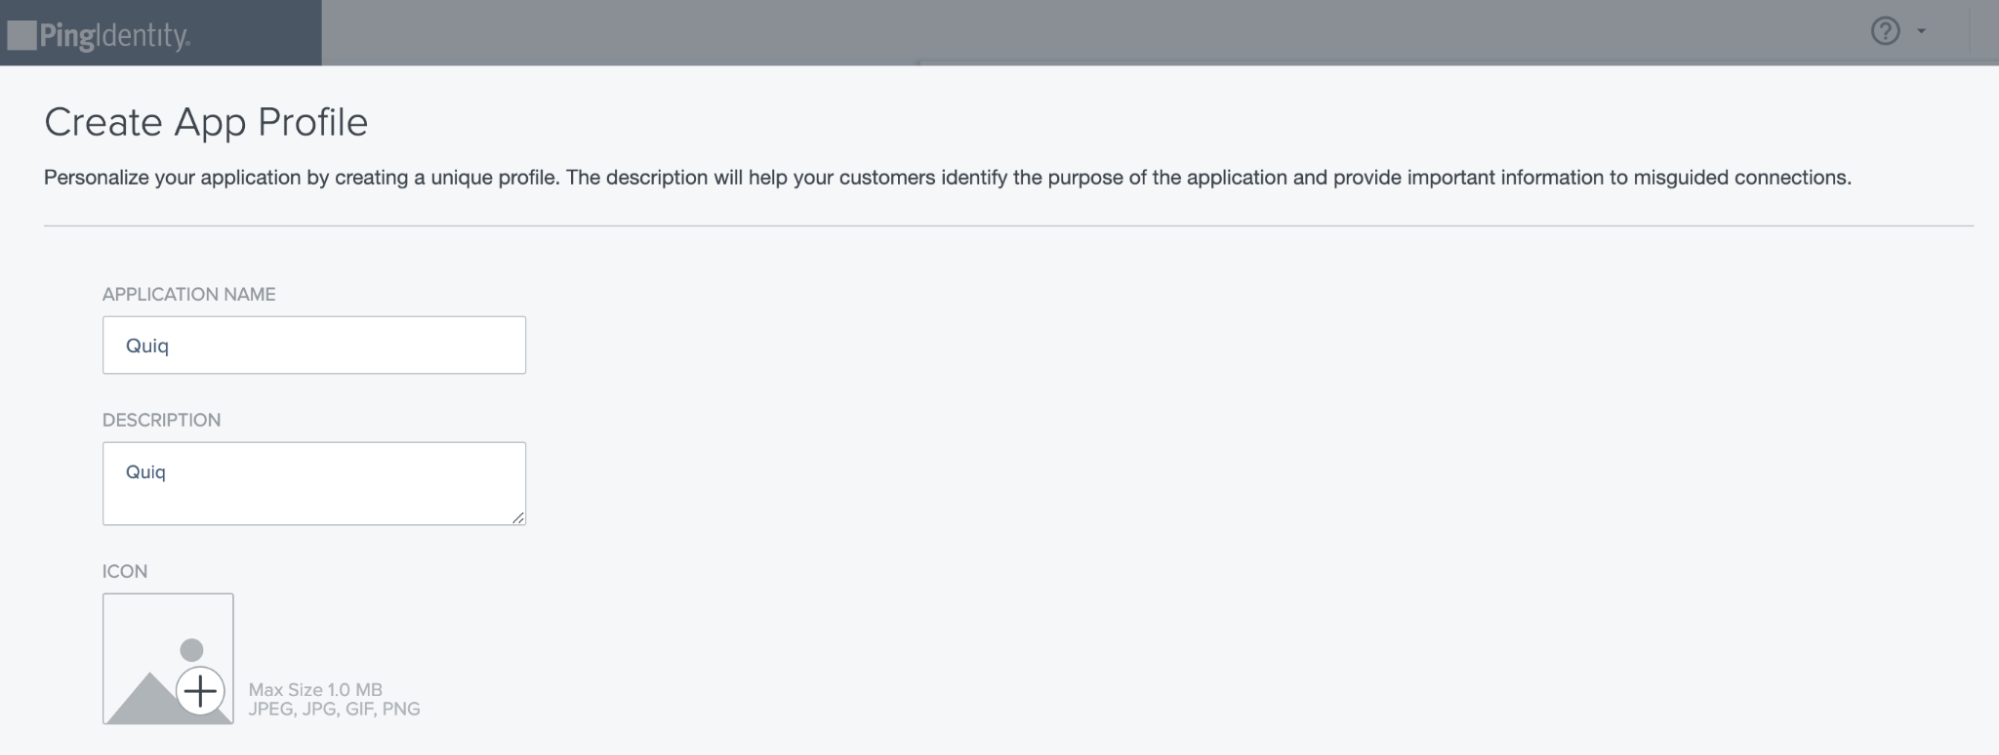
- Create a new app in Ping
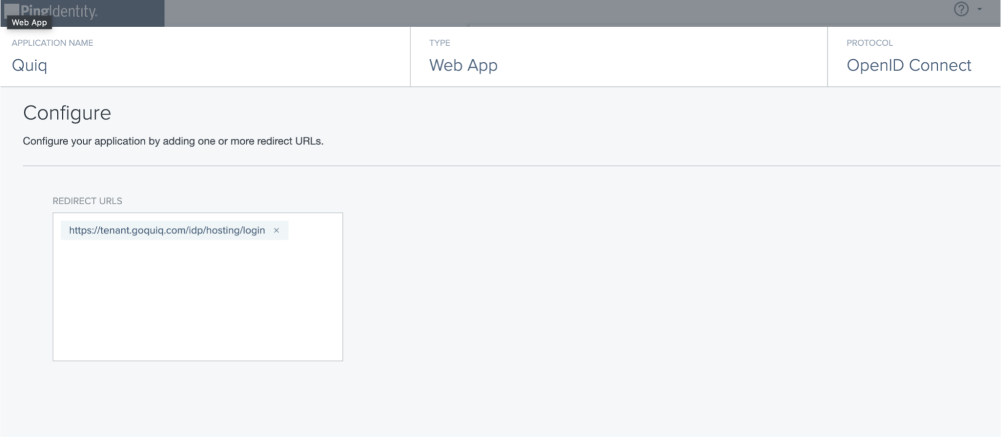
- For Redirect URI input https://$YOUR_QUIQ_TENANT.goquiq.com/idp/callback/ping
Make sure to replace YOUR_QUIQ_TENANT in the URL above with the name of your tenant.
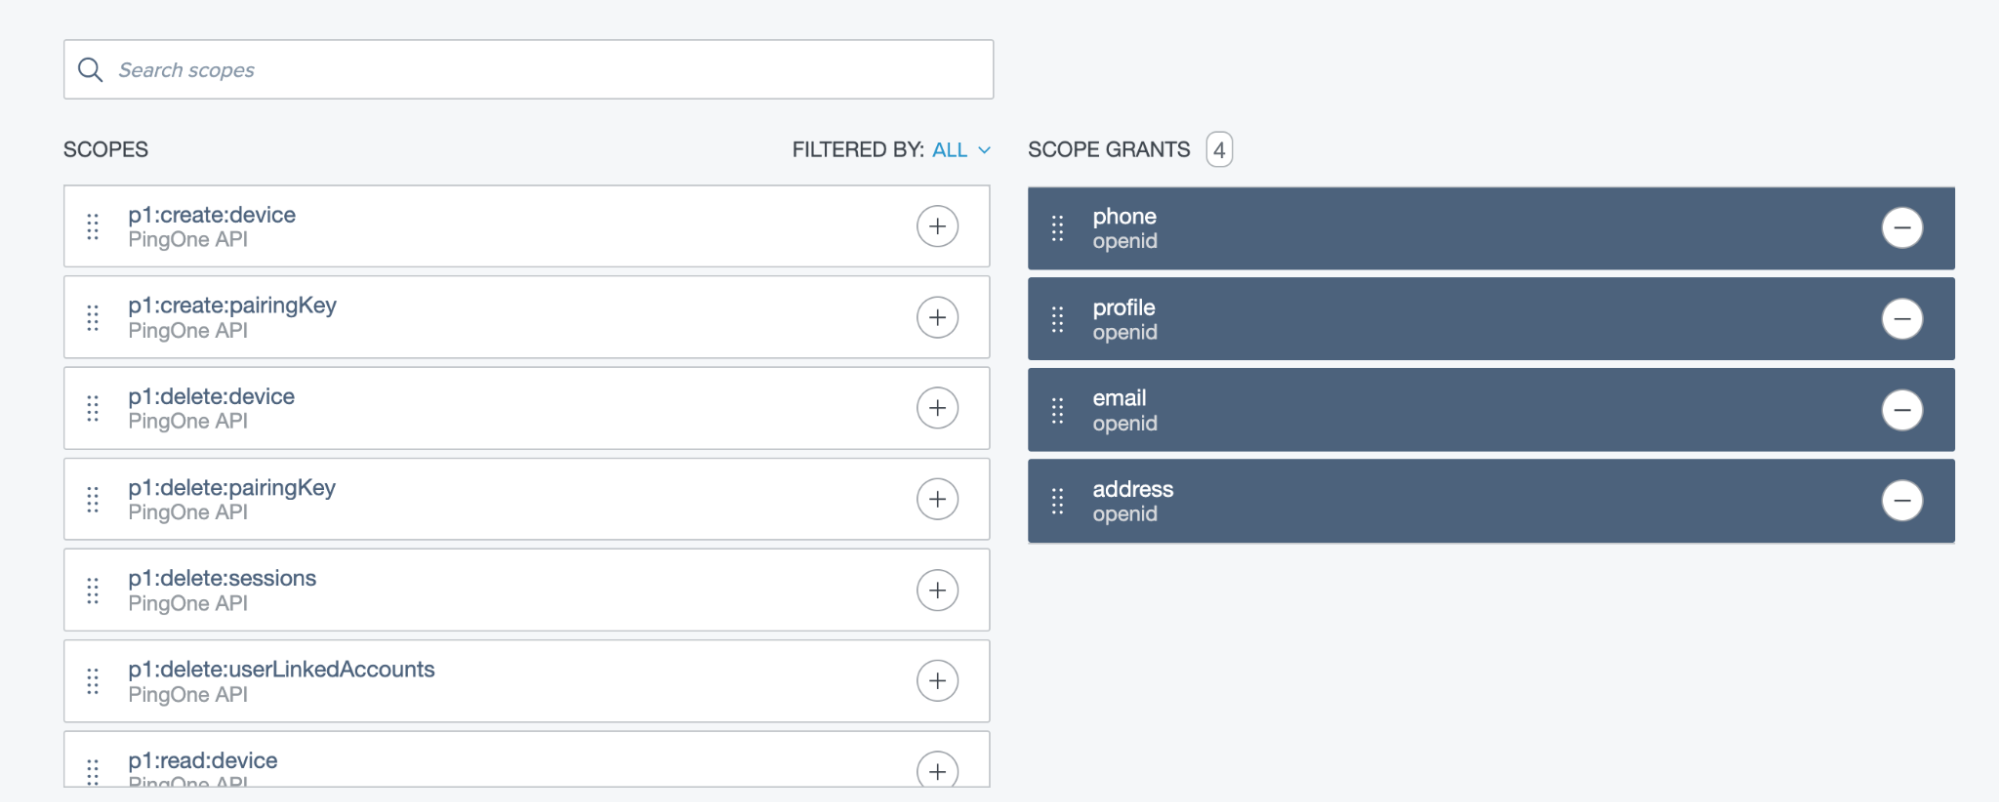
- For scope grants approve the following: phone, profile, email, address.
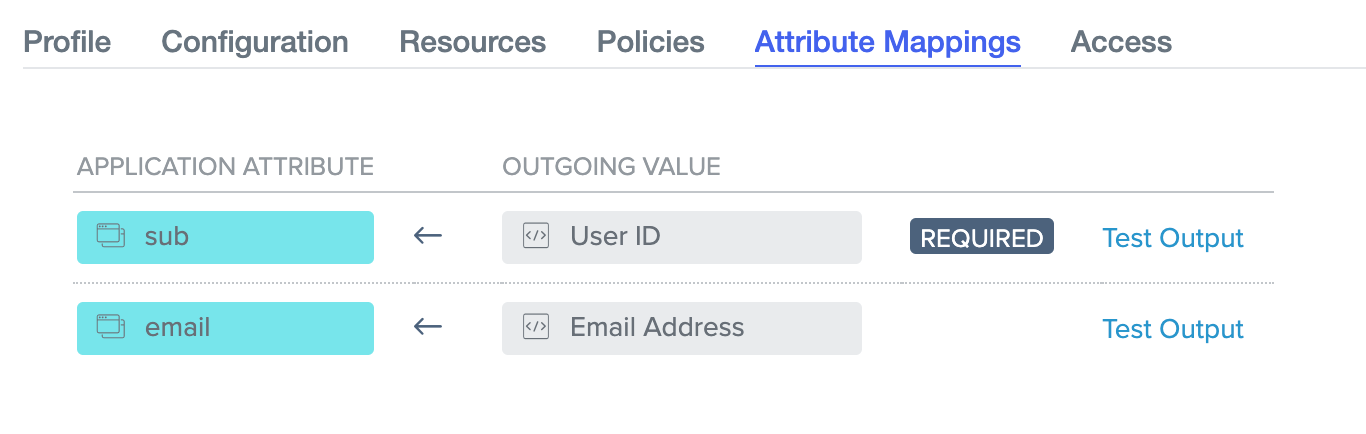
- Set up Attribute Mappings to have an Application Attribute called “email” that has an Outgoing Value of “Email Address”
- Gather info from your setup to pass along to your Quiq implementation specialist.
- Pass the information securely by inputting the info into https://yopass.quiq.com/ and generating a link. Then email your implementation specialist the link.
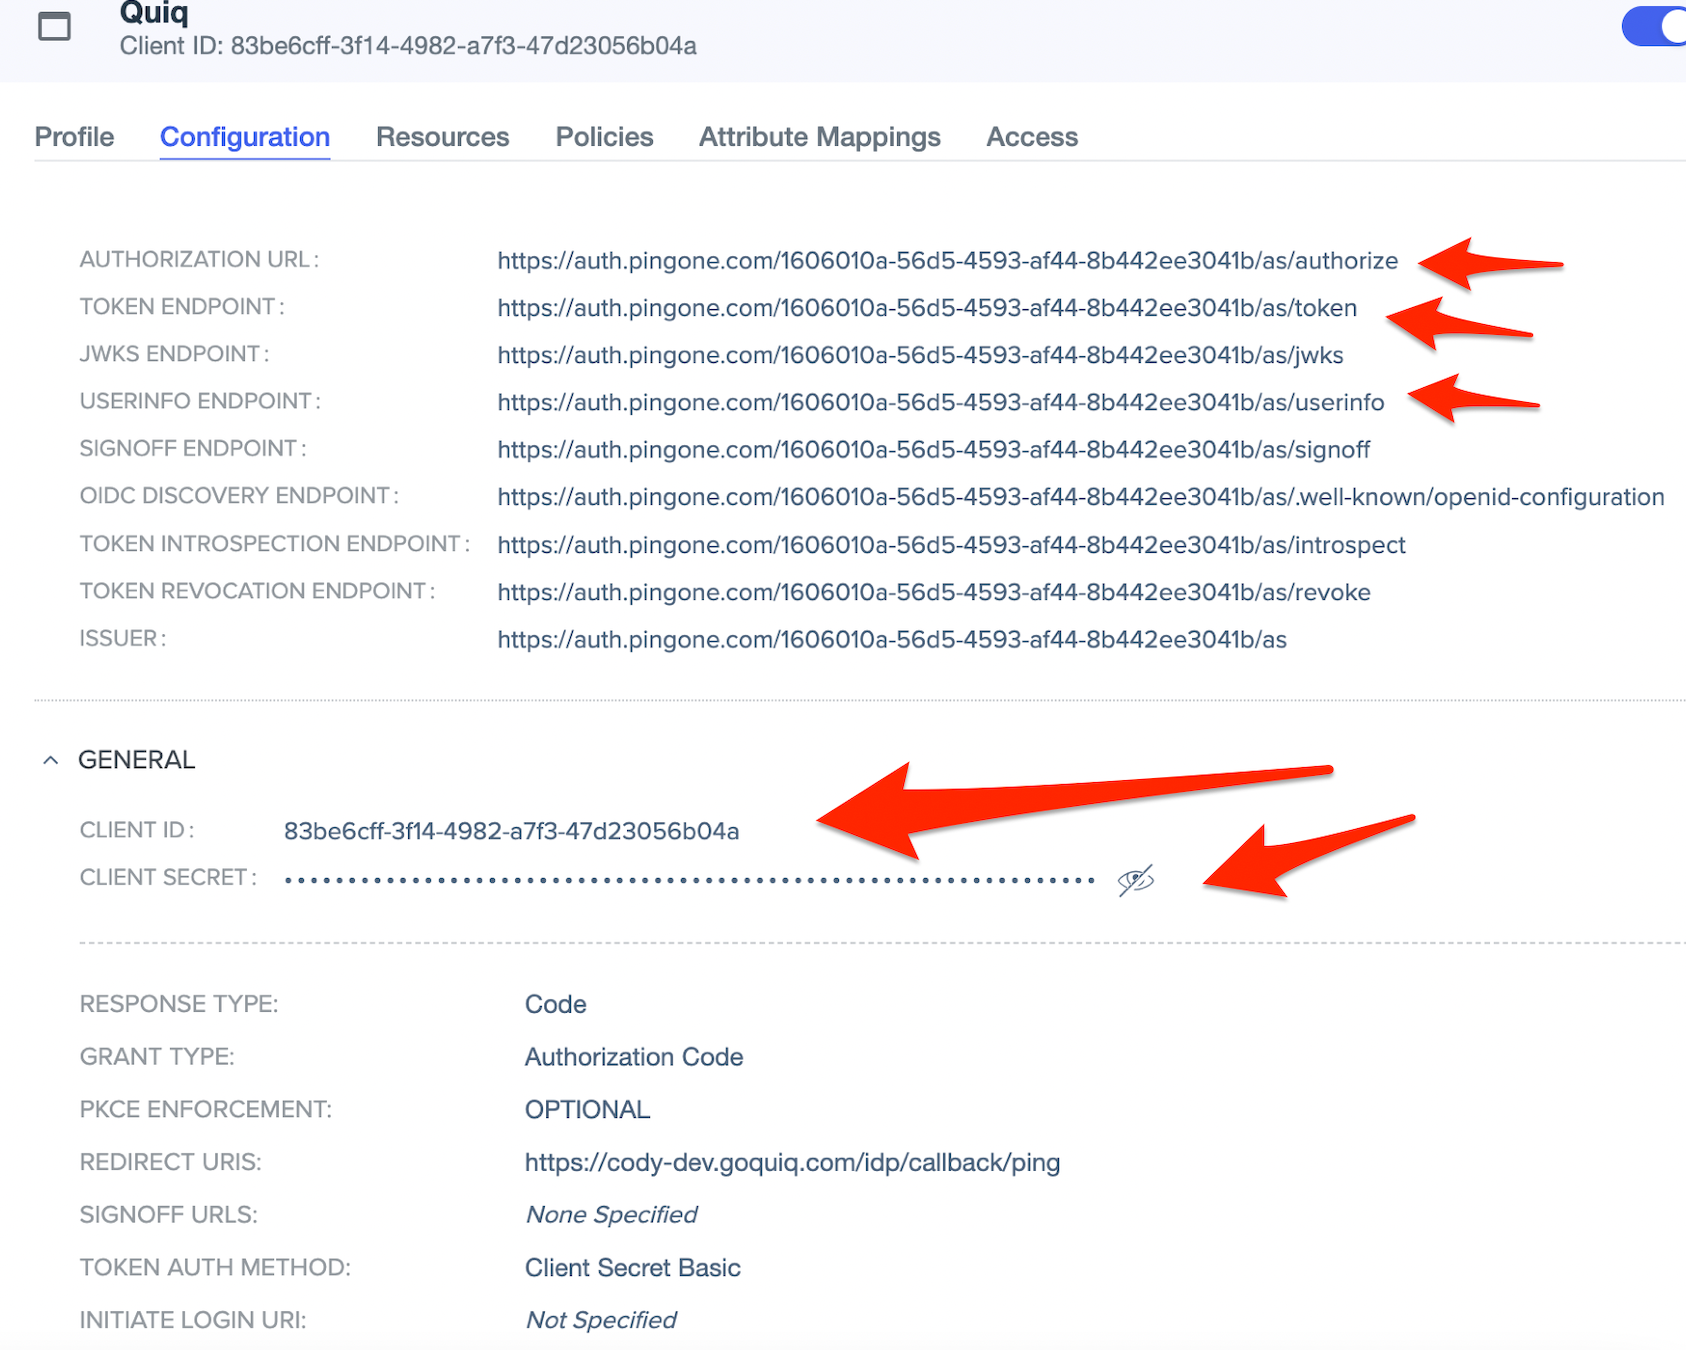
- Your implementation specialist will need the following information:
a. Authorization URL
b. Token Endpoint
c. Userinfo Endpoint
d. client_id
e. client_secret
That should be it! Once your implementation specialist injects these values securely into the Quiq platform Ping can act as your Single Sign On for Quiq.
Updated 8 months ago
Did this page help you?