Microsoft Entra ID (formerly Azure Active Directory) Setup
1. Register an application in the Entra ID (formerly Azure )Portal

1. Be sure to replace $YOUR_QUIQ_TENANT with your tenant name.
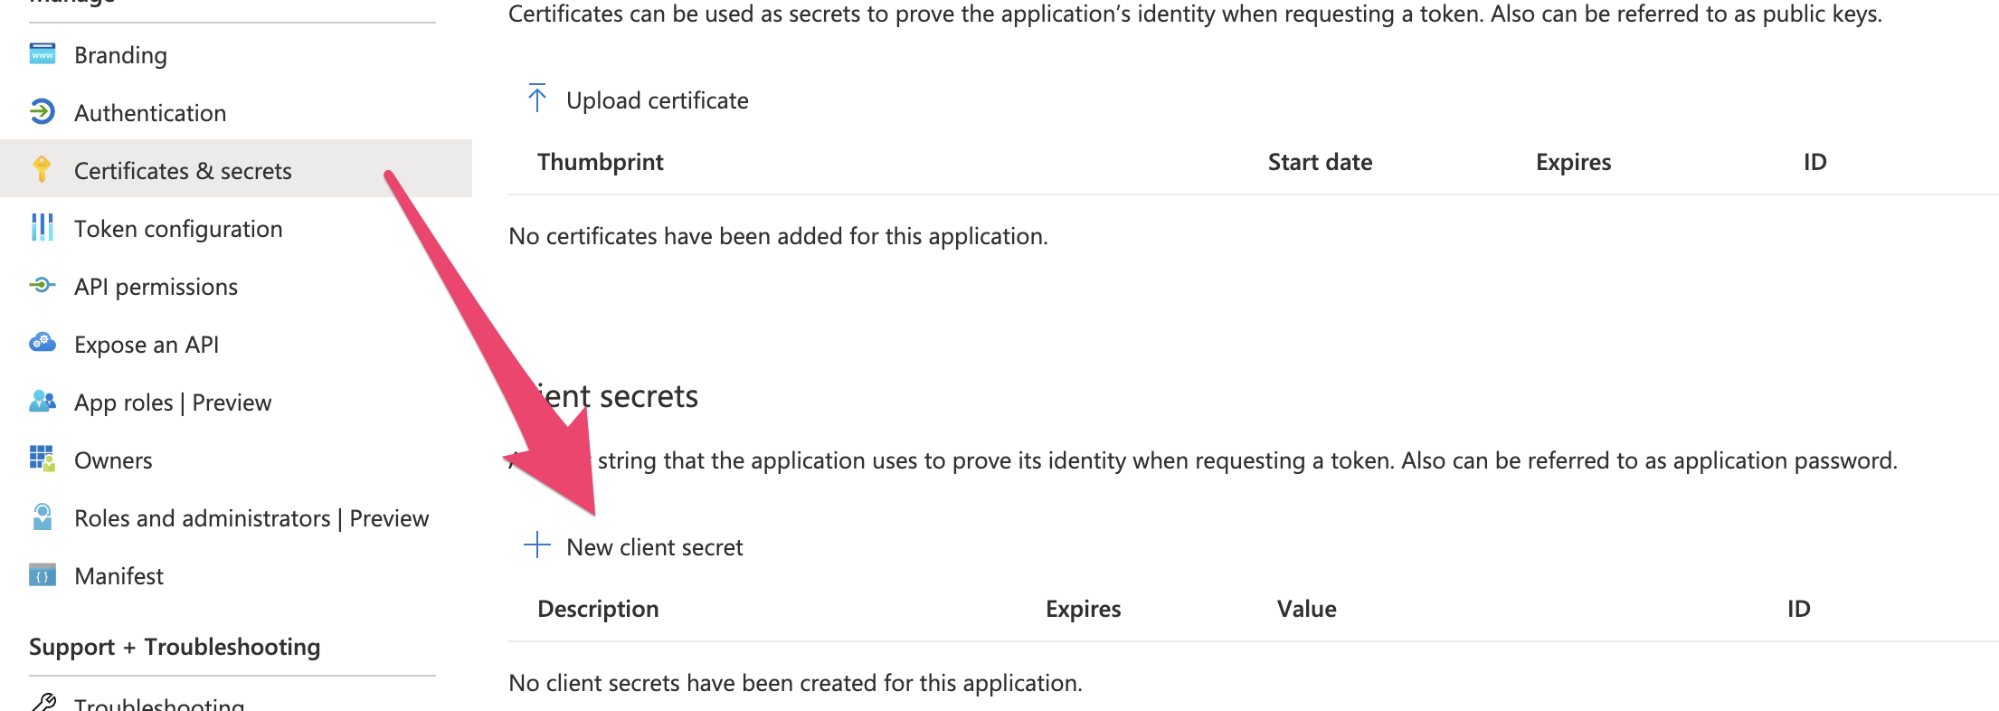
2. Create a Client Secret by navigating to Certificates & secrets and choosing “New client secret”

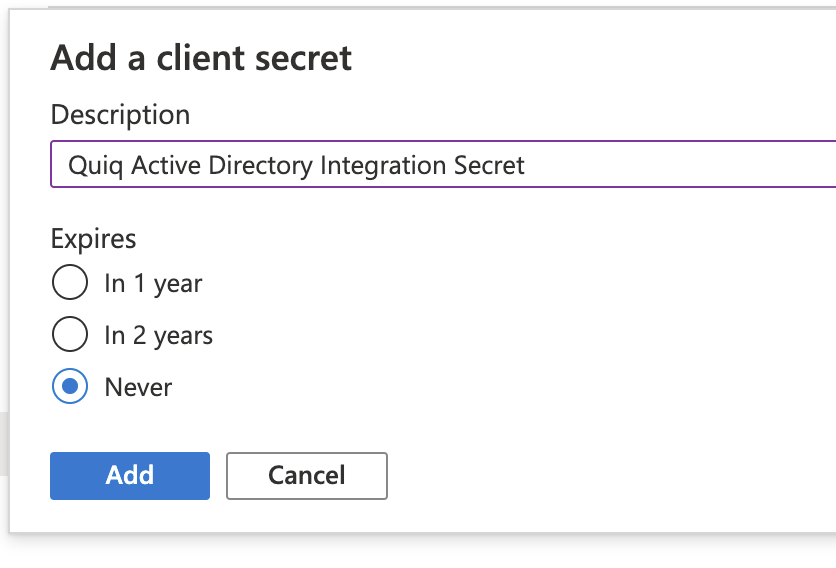
1. Input whatever you like in the Description field and for “Expires” choose Never.

2. Note to copy the secret value now and put it into a local file. This is the last chance to read it! But you can always create another.
3. Work with your Quiq implementation specialist to securely share the client secret value, the client secret ID, the Application (client) ID, and your Entra tenant name.
- Application Id is in the “Essentials” section of the Overview

- Client secret will be in the Client Secrets list under “Certificates & secrets"

- Use these instructions for finding your tenant name: https://docs.microsoft.com/en-us/partner-center/find-ids-and-domain-names
3. Configure which users will have access to Quiq.
1. If you have users in your Entra ID (formerly Azure AD) that you do NOT want to have access to Quiq then proceed with these steps. If all users will be allowed to access Quiq then you can skip.
2. In Azure Portal search for “Enterprise Applications”
3. Select the Quiq AD Integration you created earlier.
4. Under Properties change “User assignment required?” to “Yes” and save.
5. Under Users and groups assign the appropriate users and groups to have access to Quiq.
4. Configure role mapping.
1. Quiq supports an Entra ID (formerly Azure AD) group to Quiq role mapping. Work with your implementation specialist to provide a mapping fromEntra ID group to Quiq role and permission.
2. Note that the mapping only applies to the first time the user logs in. If permissions change later in Azure AD they are not reflected in Quiq. The changes must be made manually in the Quiq Admin interface.
3. Example mapping:
a. Azure AD Group ID, Quiq Role, Quiq Permission
   5de9ec64-08ed-442a-ad4f-dbd6eb710a84, bpoTeam1Support, agent
   4de9ec64-08ed-442a-ad4f-dbd6eb710a85, bpoTeam2Support, agent
   3de9ec64-08ed-442a-ad4f-dbd6eb710a86, bpoManagers, manager
   2de9ec64-08ed-442a-ad4f-dbd6eb710a87, csAdmins, admin
Updated 3 months ago
